|
Plastering season is upon us, and we've got just the deals for the job!
We're offering 15% off ALL Scrim Tape & Rendering Mesh products in our Drywall Master range until 31st May 2024, providing the professional quality a plasterer needs, but for less.
Use promo code DRYWALL15 at checkout with no quantity restrictions, meaning you can buy one item or 10, and still get your hands on this bargain.
If that sounds like a good offer to you: fantastic. Let's find out what's in the range, shall we? |
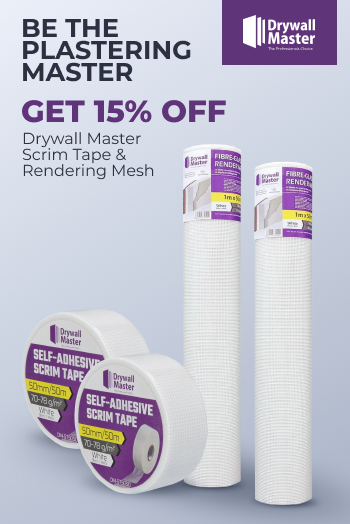 |
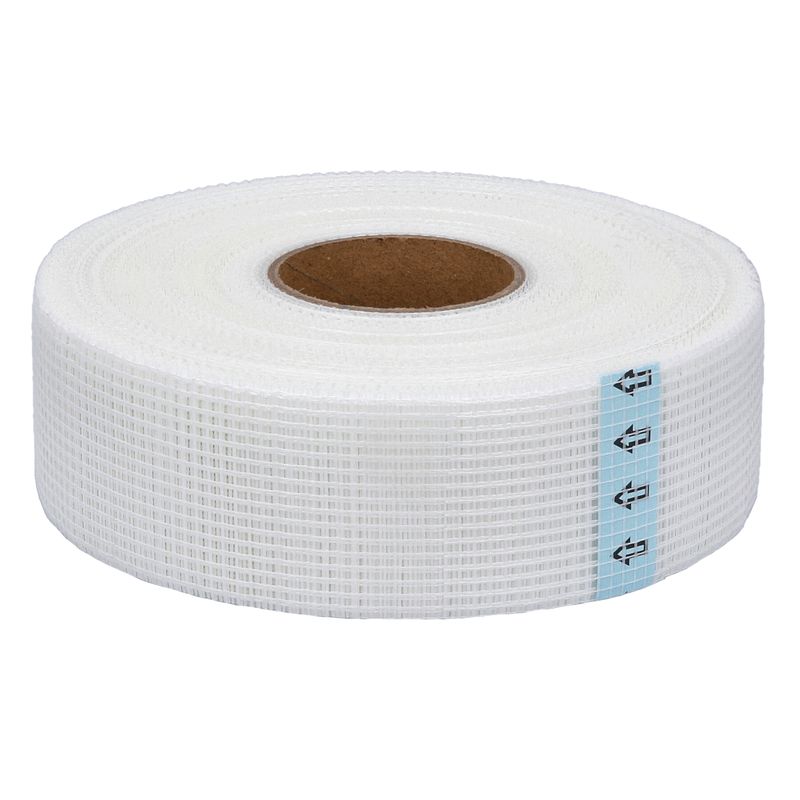
![]()
Drywall Master Scrim Tapes & Rendering Mesh
We have so many exciting products in our Drywall Master range, from 50m scrim tape to 90m scrim tape, to fiberglass rendering mesh. Below, you will find all items eligible for a 15% off discount in our promotion.
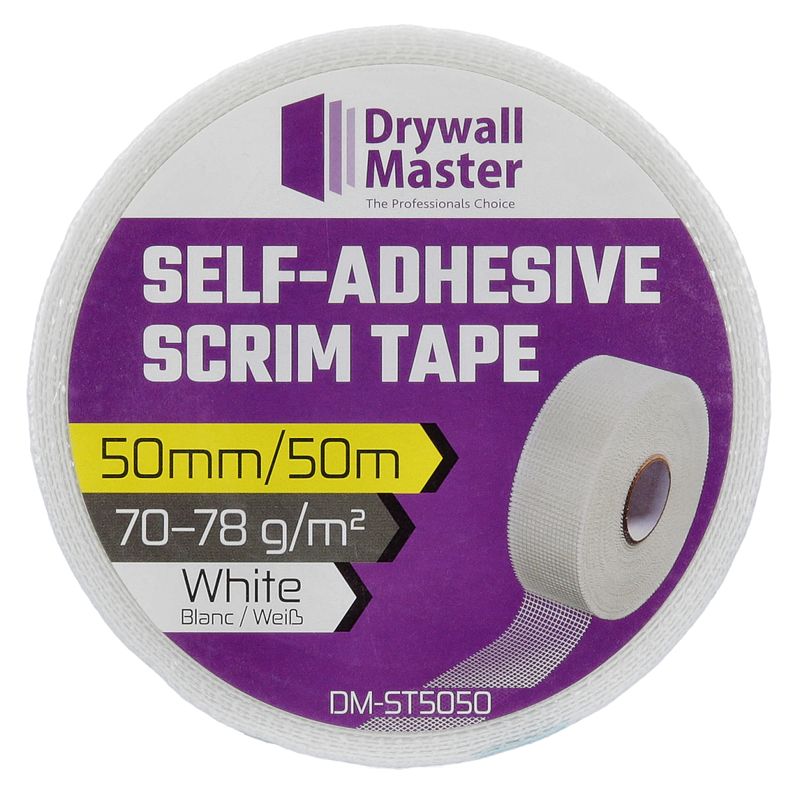
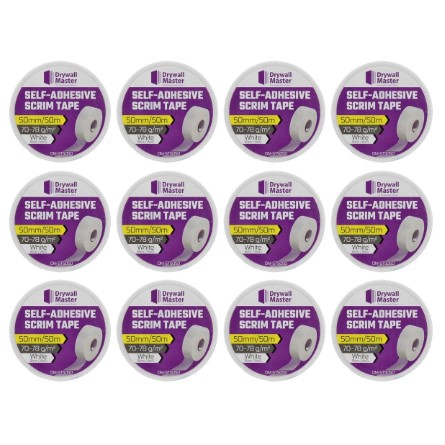
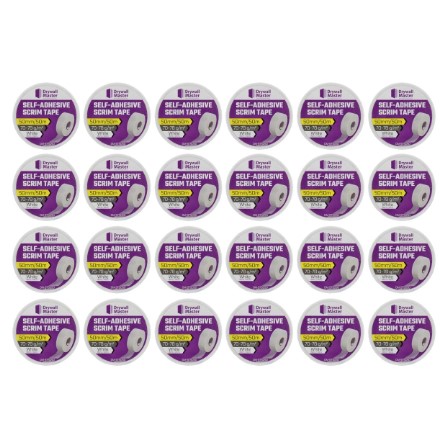
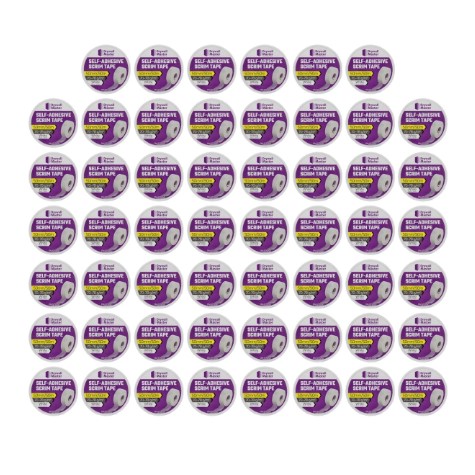
1) Drywall Master Self-Adhesive Scrim Tape White Heavy Duty Fiberglass 50mm x 50m (DM-ST5050)
Designed with professional plasterers in mind, the Drywall Master plasterboard self-adhesive scrim tape is a high-quality product that is simple to use and produces outstanding results to make work simpler. It's super sticky – but not too sticky that it takes the paint off – offering the ideal amount of stickiness for your projects. Tested and approved alkaline-resistant.
|
|
Benefits:
|

Variations:
|
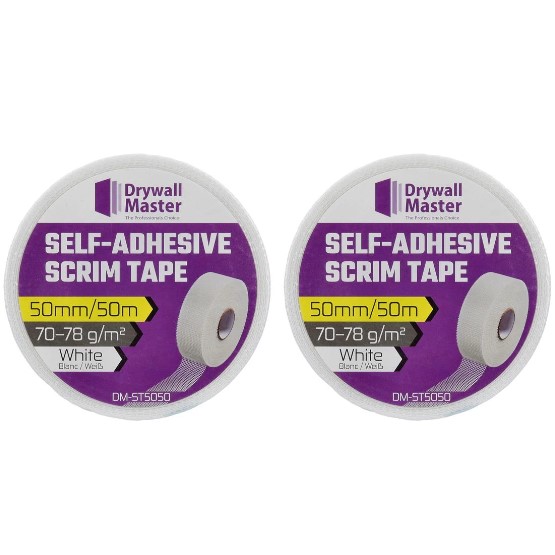
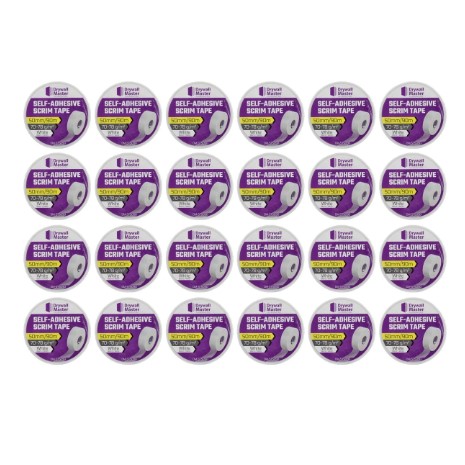
Pack of 2
|
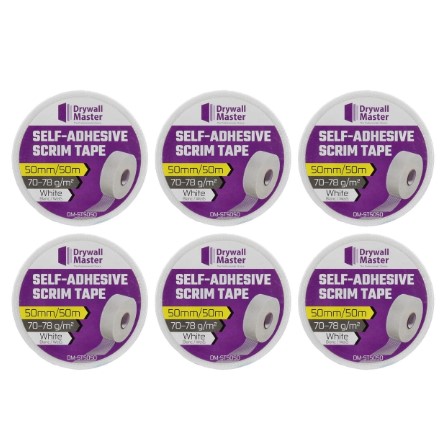
Pack of 6
|
|
Pack of 12
|
Pack of 24
|
|
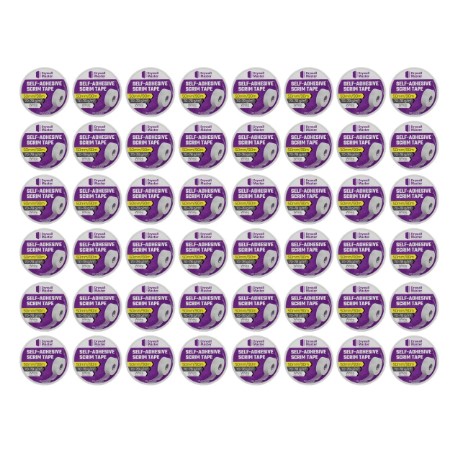
Pack of 54
|
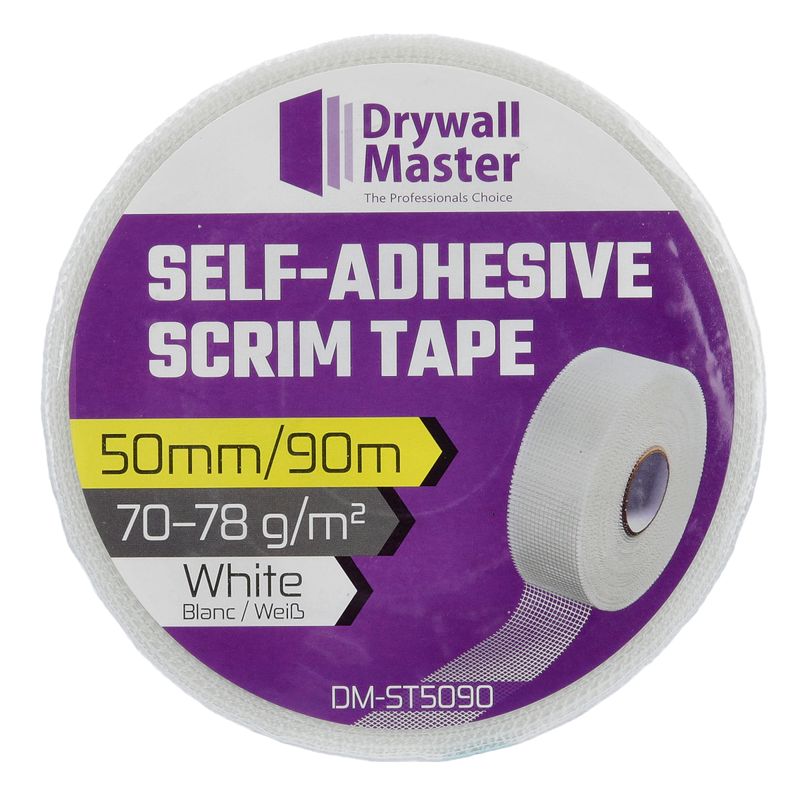
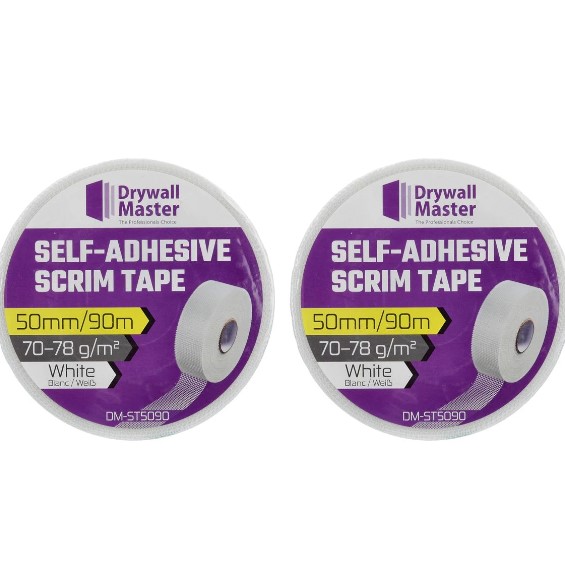
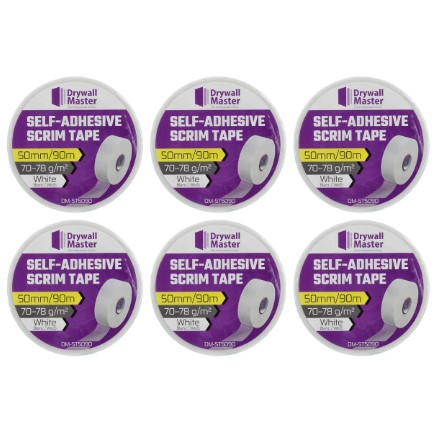
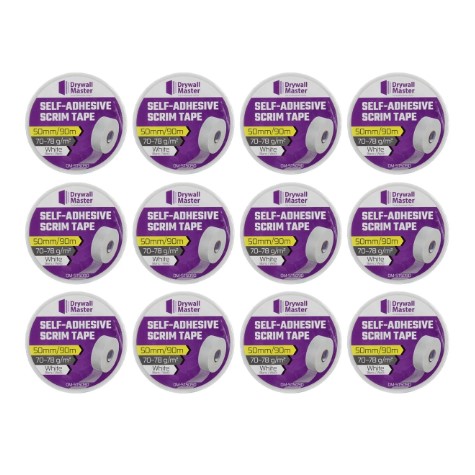
2) Drywall Master Self-Adhesive Scrim Tape White Heavy Duty Fiberglass 50mm x 90m (DM-ST5090)
90m scrim tape offers similar features to the DM-ST5050, with strong stickiness that produces outstanding results. This heavy-duty joint tape allows you to provide reinforcement to plasterboard joints, repair bothersome cracks and patch up any annoying holes. Use it in any climate, with the ideal temperature being mild (not too hot, not too cold).
|
|
Benefits:
|
Variations:
|
Pack of 2
|
Pack of 6
|
|
Pack of 12
|
Pack of 24
|
|
Pack of 48
|
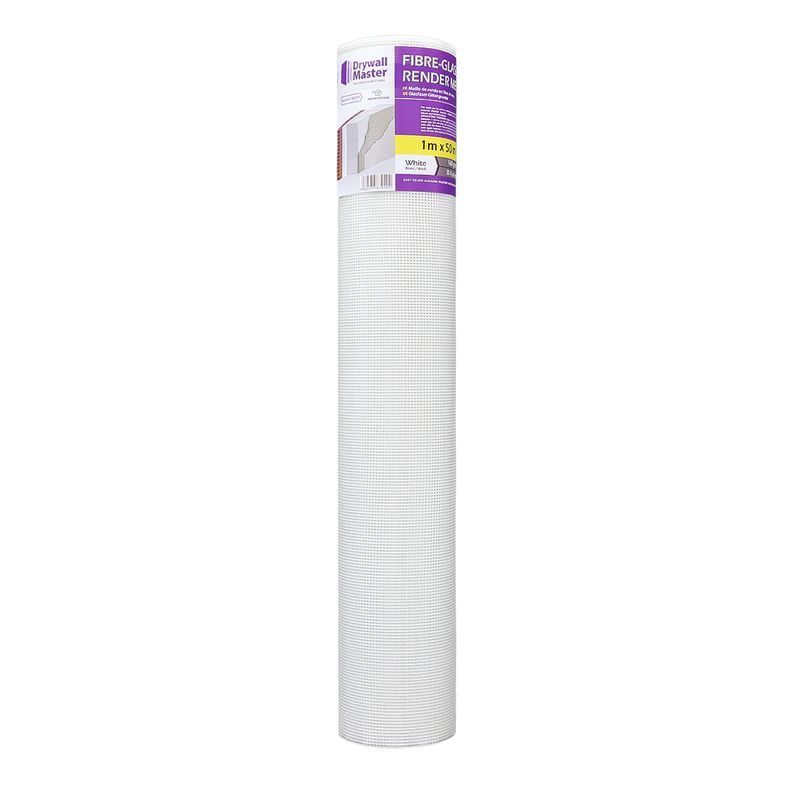
3) Drywall Master Fibreglass Rendering Render Mesh 50sqm 160g/m2 Coverage 4x4 mm (22415DM)
Drywall Master manufactures a wide range of fiberglass mesh products that are ideal for reinforcing external render and external wall insulation systems. The mesh provides high-impact resistance to all render systems, particularly around openings or areas of traditional weakness. It's used to stabilise surfaces, as well as reinforce the substrate to help prevent cracking.
|
|
Benefits:
|
Variations:
|
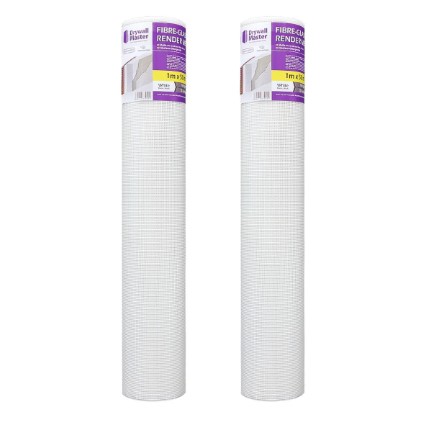
Pack of 2
|
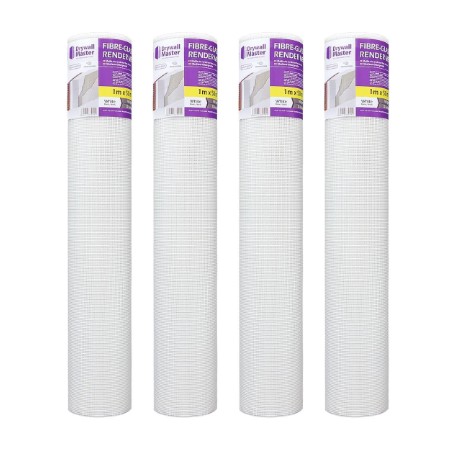
Pack of 4
|
|
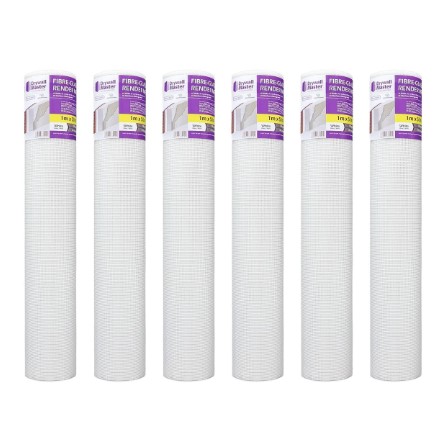
Pack of 6
|
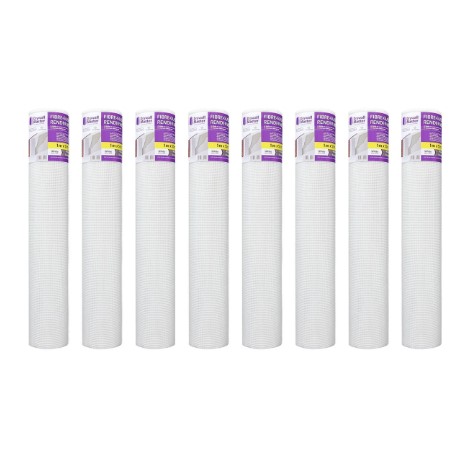
Pack of 8
|
|
Pack of 10
|
![]()
Scrim Tape Uses
Scrim tape, also known as drywall tape or joint tape, is a crucial component in construction and renovation projects. Understanding the benefits of scrim tape is essential for achieving durable and visually appealing results.
Benefits include:
- Reinforcement of Drywall Joints: Helps prevent cracking and crumbling, ensuring long-lasting stability.
- Crack Prevention: Creates a smooth surface that withstands structural shifts and temperature changes.
- Seam Concealment: Enhances the aesthetic appeal of walls and ceilings.
- Enhanced Bonding: Adhesion ensures a secure attachment, enhancing the strength of the construction.
- Easy Application: User-friendly & easy to apply, scrim tape is suitable for both professional and DIY users.
- Long-Term Durability: Constructed from durable materials, scrim tape is resistant to deterioration, reducing maintenance needs and costs.
Scrim Tape Benefits to Look For
When purchasing scrim tape for your construction or renovation projects, it's important to consider several key benefits to ensure you select the right product for your needs.
Here are some important factors to look for when buying scrim tape:
Heavy Duty Materials
Opt for scrim tape made from high-quality, heavy-duty materials such as fiberglass. This will ensure durability and long-term performance, reducing the risk of tearing over time.
Strong Adhesion
Look for scrim tape with strong adhesive properties that ensure a secure bond to drywall surfaces and joint compound. A strong adhesive helps prevent the tape from peeling or lifting, ensuring seamless joints and crack prevention.
Tape Length and Width
Choose scrim tape available in various widths and lengths to suit your specific project requirements. Our Drywall Master range features 50m and 90m scrim tape for versatile uses.
Corrosion & Alkaline Resistance
Consider scrim tape that offers corrosion and alkaline resistance, especially for areas prone to moisture such as bathrooms or kitchens. Alkaline-resistant tape helps prevent mold growth, enhancing the longevity and cleanliness of your walls.
Easy Application
Look for scrim tape that is easy to apply, even for DIY enthusiasts. Features such as 'quick and easy to apply' can facilitate smooth and hassle-free installation, saving time and effort.
Brand Reputation
It is important to consider the reputation of the brand you are buying from. Check Trustpilot for reviews to be sure of quality. All our Drywall Master products can be found on Trustpilot for peace of mind.
By considering these benefits when buying scrim tape, you can select a product that meets your project requirements, ensures durability, and delivers professional results.
Installing Scrim Tape
Installing scrim tape is a crucial step in drywall construction, ensuring strong joints and a smooth finish. Follow these easy steps to install scrim tape like a pro and achieve professional results.
- Gather Your Materials: You'll need scrim tape, joint compound, a drywall knife or trowel, sandpaper, and a utility knife.
- Prepare the Surface: Ensure the drywall surface is clean, dry, and free from dust or debris. Use sandpaper to smooth any imperfections.
- Apply Joint Compound: Using a drywall knife or trowel, apply a thin layer of joint compound over the seam where the drywall panels meet. Ensure the joint compound covers the seam evenly.
- Embed Scrim Tape: Place the scrim tape over the wet joint compound, ensuring it aligns with the seam. Use gentle pressure to embed the tape into the compound, smoothing out any wrinkles or bubbles.
- Apply Additional Joint Compound: Once the scrim tape is in place, apply another layer of joint compound over the tape, covering it completely. Use the drywall knife or trowel to feather the edges for a seamless finish.
- Let It Dry: Allow the joint compound to dry completely according to the manufacturer's instructions. This typically takes 24-48 hours, depending on humidity levels and thickness of the compound.
- Sand and Smooth: Once dry, use sandpaper to smooth any rough areas or excess joint compound, ensuring a flush finish with the surrounding drywall.
- Final Finishing: Inspect the seam for any imperfections and apply additional coats of joint compound if necessary.
Once satisfied with the result, prime and paint the drywall as desired, and you're done! That was easy, right?
![]()
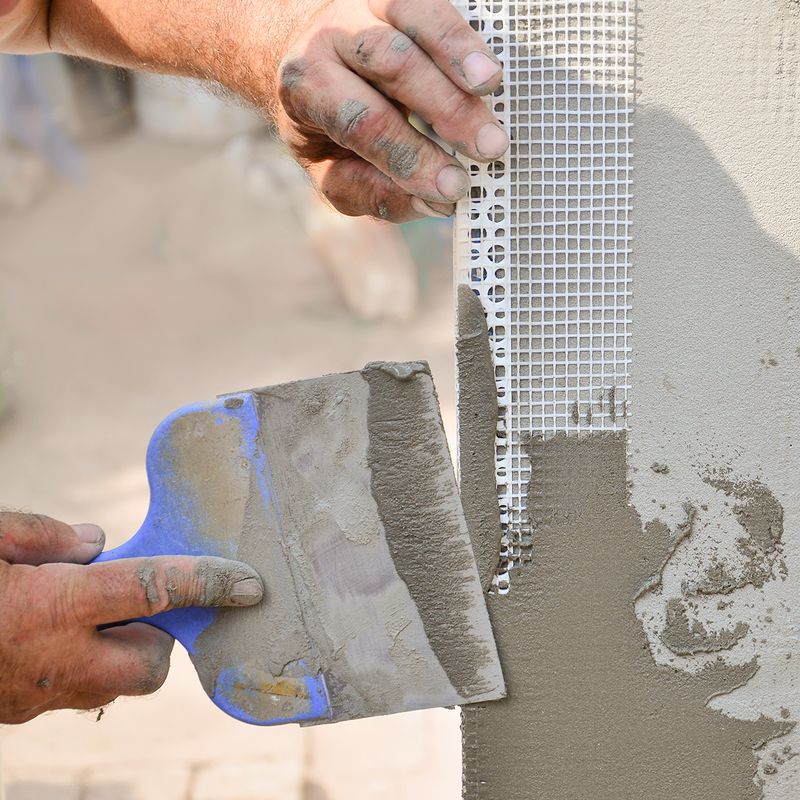
Rendering Mesh Uses
Rendering mesh, also known as stucco mesh or plaster mesh, is a versatile material widely used in construction for reinforcing and enhancing the durability of rendered surfaces.
Benefits of using rendering mesh include:
- Reinforcement of Rendered Surfaces: The mesh provides added stability, improving structural integrity.
- Crack Prevention: Rendering mesh acts as a barrier, reducing the likelihood of cracks.
- Substrate Compatibility: Suitable for various substrates, including concrete, masonry, metal, and wood.
- Flexibility: Mesh can be easily cut, shaped, and applied to accommodate complex architectural designs.
- Waterproofing and Weather Resistance: Protects surfaces from harsh environmental conditions.
- Versatile Applications: Commonly used in exterior insulation and finishing systems (EIFS), stucco applications, plastering, and decorative finishes.
- Easy Installation and Cost-Effectiveness: Rendering mesh requires minimal tools and expertise to apply.
Benefits of Rendering Mesh
Before you make your purchase of your chosen rendering mesh product, be sure you are opting for quality. Be mindful of the features to look for that will offer good results.
Some noteworthy features to consider include the following:
Durable
Pick rendering mesh that provides good durability. The mesh should enhance exterior finishes by reinforcing the underlying substrate. If it's durable, it will distribute stress and load evenly across the surface, minimising cracks & fractures.
Corrosion and Alkaline Resistance
This feature will ensure your rendering mesh will prolong the lifespan of your surfaces. It will protect them from moisture, UV exposure and other harsh environments they may be subject to.
Adaptable to Uneven Surfaces
Rendering mesh should be compatible with various substrates, including concrete, masonry, metal, and wood. It should prevent cracking and stabilise surfaces. Its versatility makes it suitable for a wide range of construction applications.
Easy Installation
No one wants to spend all day doing a task – not even the pros. Rendering mesh should be easy to install, requiring minimal tools and expertise. Look out for the 'easy to install' feature.
Lightweight
This is an important benefit when considering purchasing Drywall Master Rendering Mesh or any other rendering mesh product. It assures easy transportation, which is highly essential: particularly for those going from job to job.
High Strength
Last but not least, the rendering mesh should be strong. Special-woven glass-fiber strands on our Drywall Master mesh products offer incredible strength when embedded into wet basecoat render.
So, make sure your rendering mesh offers a multitude of benefits before you buy, from enhancing durability and preventing cracks to easy installation and high strength.
Applying Rendering Mesh
Applying rendering mesh is a crucial step in achieving durable and weather-resistant exterior finishes for your construction projects.
Here's how:
- Prepare Your Surface: Ensure the surface is clean, dry, and free from dust, debris, and loose particles. Repair any cracks or imperfections in the substrate using suitable repair materials and allow them to dry completely.
- Apply Primer: Apply a suitable primer to the substrate to promote adhesion and enhance the bonding of the rendering mesh. Allow the primer to dry before proceeding to the next step.
- Cut and Fit Your Mesh: Measure & cut the rendering mesh to the desired size, ensuring it overlaps at corners and edges for optimal reinforcement. Place the mesh over the primed surface.
- Embed the Mesh: Using a suitable trowel or tool, embed the rendering mesh into the base coat or adhesive layer, ensuring it is firmly pressed into place.
- Base Coat Application: Apply a base coat of render or adhesive over the embedded mesh, ensuring full coverage and thickness. Use a trowel or rendering tool to spread the base coat evenly.
- Mesh Reinforcement: Apply additional layers of render or adhesive over the mesh, embedding it further into the base coat for added reinforcement. Ensure each layer is allowed to dry before applying the next.
- Finishing Touches: Once the final layer of render or adhesive has dried, finish the surface as desired using suitable finishing techniques.
- Curing and Maintenance: Allow the rendered surface to cure fully before subjecting it to harsh weather or other stresses. Perform regular inspections and maintenance to ensure longevity.
By following these simple steps, you can ensure proper surface preparation, mesh embedding, and curing for optimal results that withstand the test of time.
![]()
Shop UK Planet Tools for the best Drywall Master deals
As the home of Drywall Master, we're the top choice when it comes to Drywall Master discounts.
- Shop Fibreglass Mesh, Scrim Tape, Access Panels & more for the best prices now at ukplanettools.co.uk/drywallmaster/
And don't forget your promo code 'DRYWALL15' when shopping for qualifying products, as listed above.