|
Wall panelling is really in right now: just ask any carpenter, plasterer or interior designer.
From bedrooms to living rooms, hallways to bathrooms, accent walls to all four walls, the versatility of wall panelling knows no bounds. Find it anywhere in the house, in any colour.
Made popular by #homeinspo TikToks and Pinterest boards in 2022, the trend is showing no signs of slowing down, with many attempting to do it themselves as a cost-effective and easy way of brightening up their walls.
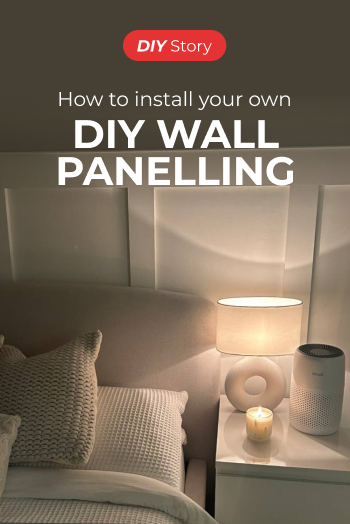
Up for the challenge? Grab your tools and get to work: here's how to create your very own DIY wall panelling. |
 |
![]()
Benefits of wall panelling
Before you begin, consider the benefits. They go way beyond aesthetics!
In fact, there are several you may not have previously considered:
- Further insulates a room: While not the most effective way to insulate, adding more materials to the wall can add a form of insulation, making a room feel warmer. This is particularly apparent for whole wall panelling.
- Good for soundproofing: In addition to making a room more insulated, wall panels made from acoustic or thermal insulation materials can also minimise noise transmission between rooms.
- Adds protection to walls: An additional layer to the walls can reduce the chance of wear and tear and keep them looking fresh and inviting.
- Adds resale value to your property: With the rise in new build sales, many buyers will seek a 'show home' aesthetic. Adding panelling can be a cheap and easy way to make your older home look more modern.
- Conceals imperfections: Got a crack in the wall that just won't go away? Cover it with some MDF – that'll cover up those unsightly marks in no time.
- Increases wall durability: If your walls are made of thin materials, adding panelling can work as a protective layer, helping your walls fight against wear and tear for years to come.
![]()
Wall Panelling Ideas
Now, it's time to think of a design. You'll want something that suits you, as well as the space you're panelling (because once those panels are sealed to your walls, there's no going back: at least not without a hefty cost to re-plaster!)
The good news is, there are SO many variations that you'll be bound to find something that stands out to you and matches your taste/skillset.
Wall panelling ideas for beginners
Here are some beautiful designs that are not only easy to do, but will offer professional results for a fraction of the cost of paying someone to do it for you.
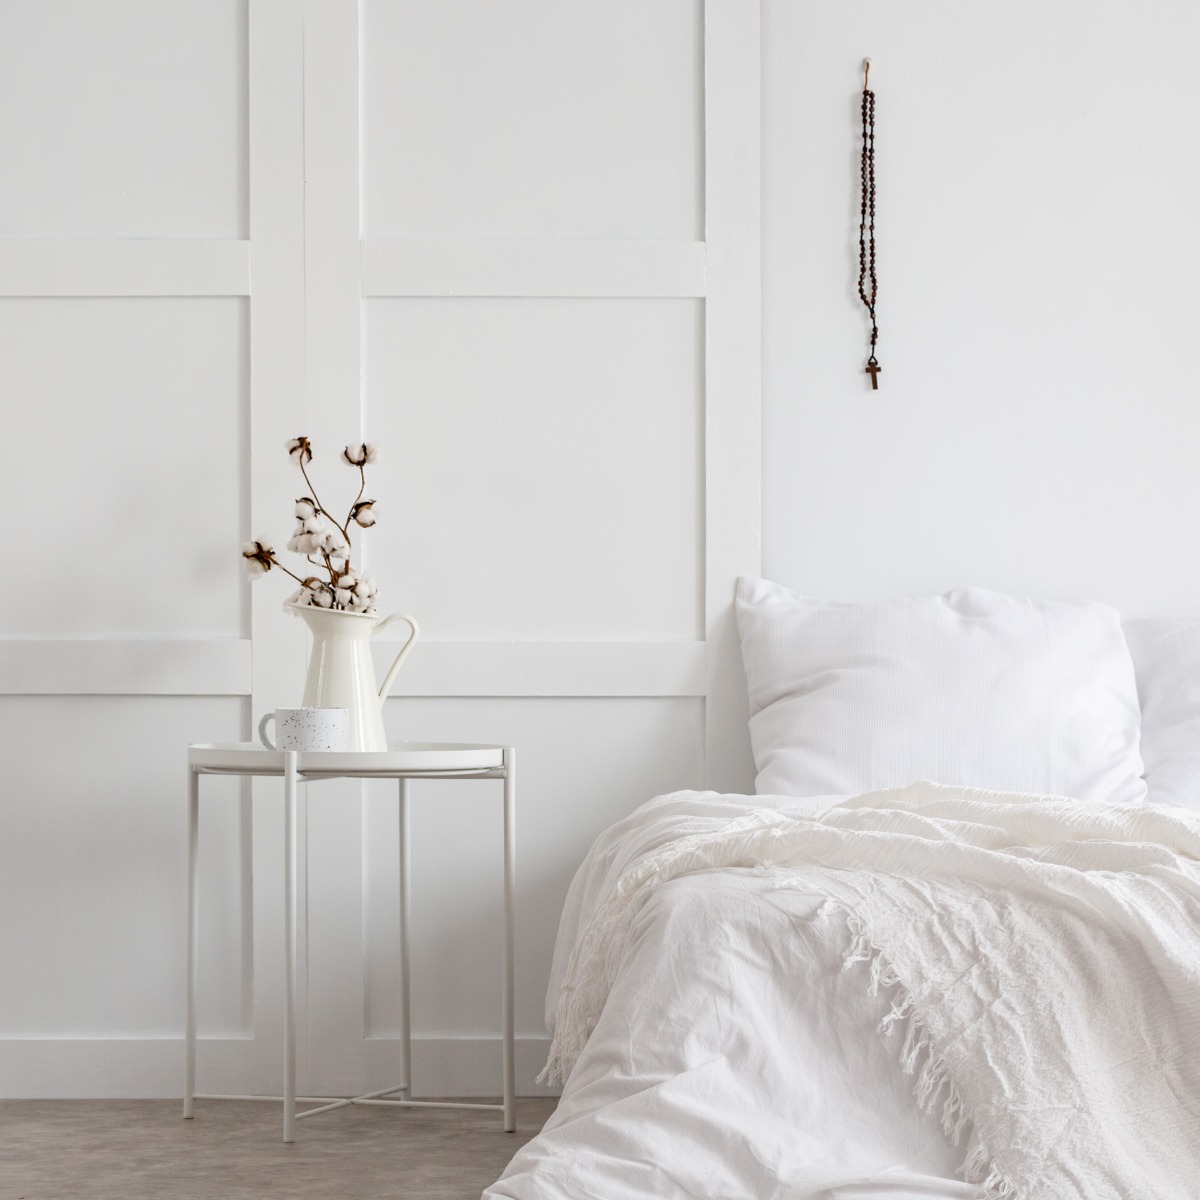
1. MDF Tiling Alternative
if you're looking for a sleek and contemporary way to create an accent wall, MDF tiling is a great option. It looks good in hallways, bedrooms – even bathrooms, provided your MDF is moisture-resistant.
Add a skirting board and fill the rest of the wall above for beautiful results. Ensure you measure correctly if attempting this style: you may need to trim down the width of the end pieces to ensure you can use full pieces of MDF in the middle.
Tiling can really make a statement to an entryway
Paint the tiles in any colour of your choice for a unique look, adding character and personalisation to your space.
Tip: Adding a layer of white primer is always recommended before painting MDF as this will create a foundation and make the paint job smoother.
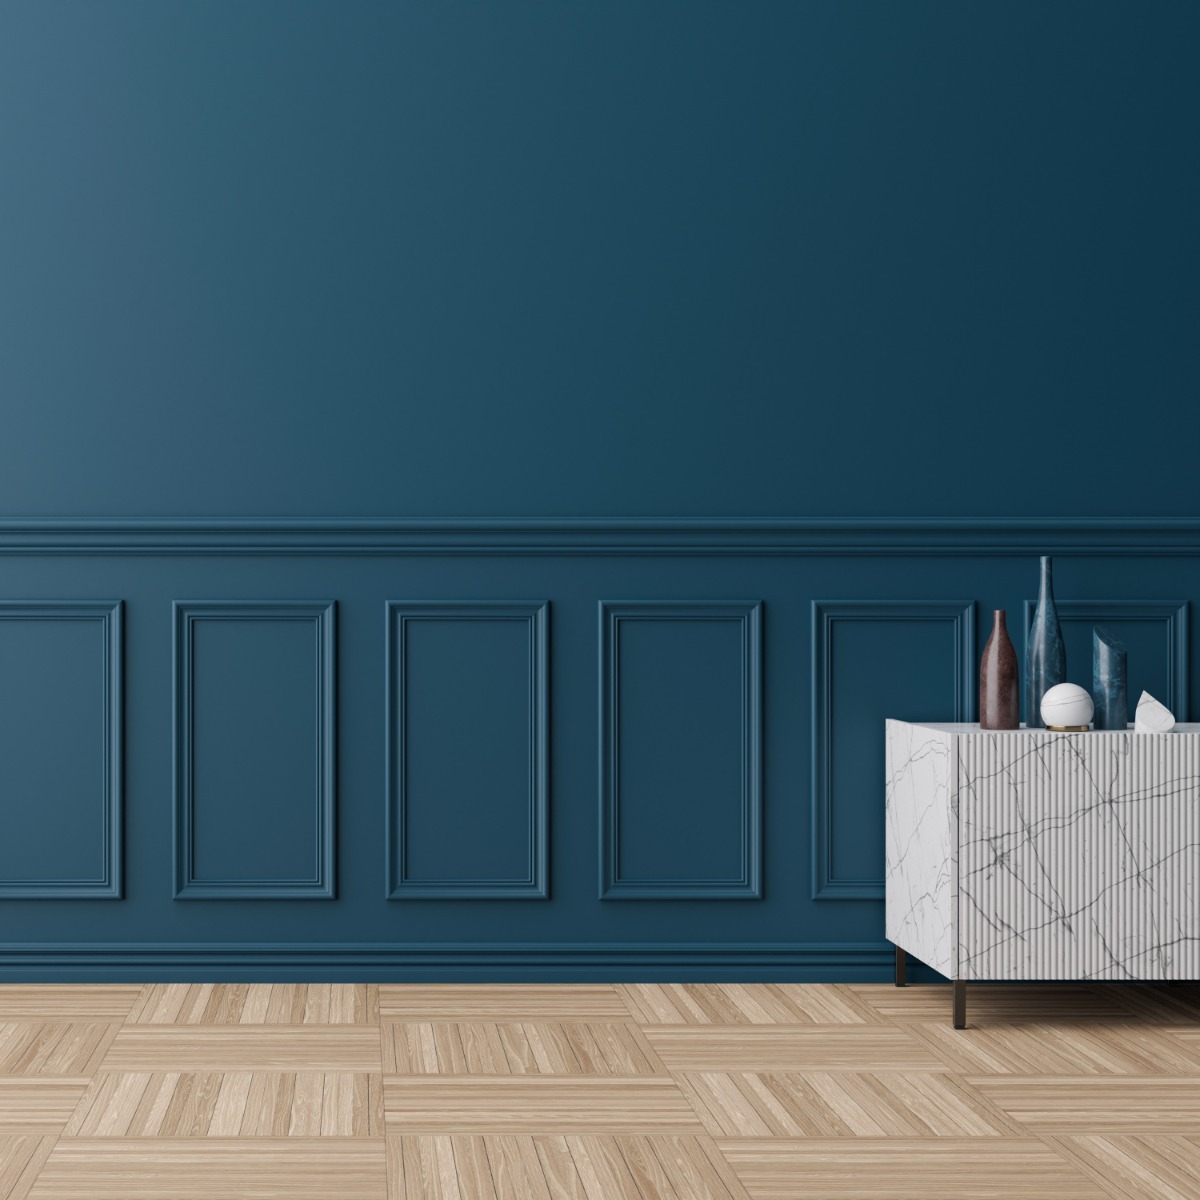
An easy way to fill the space above a sideboard
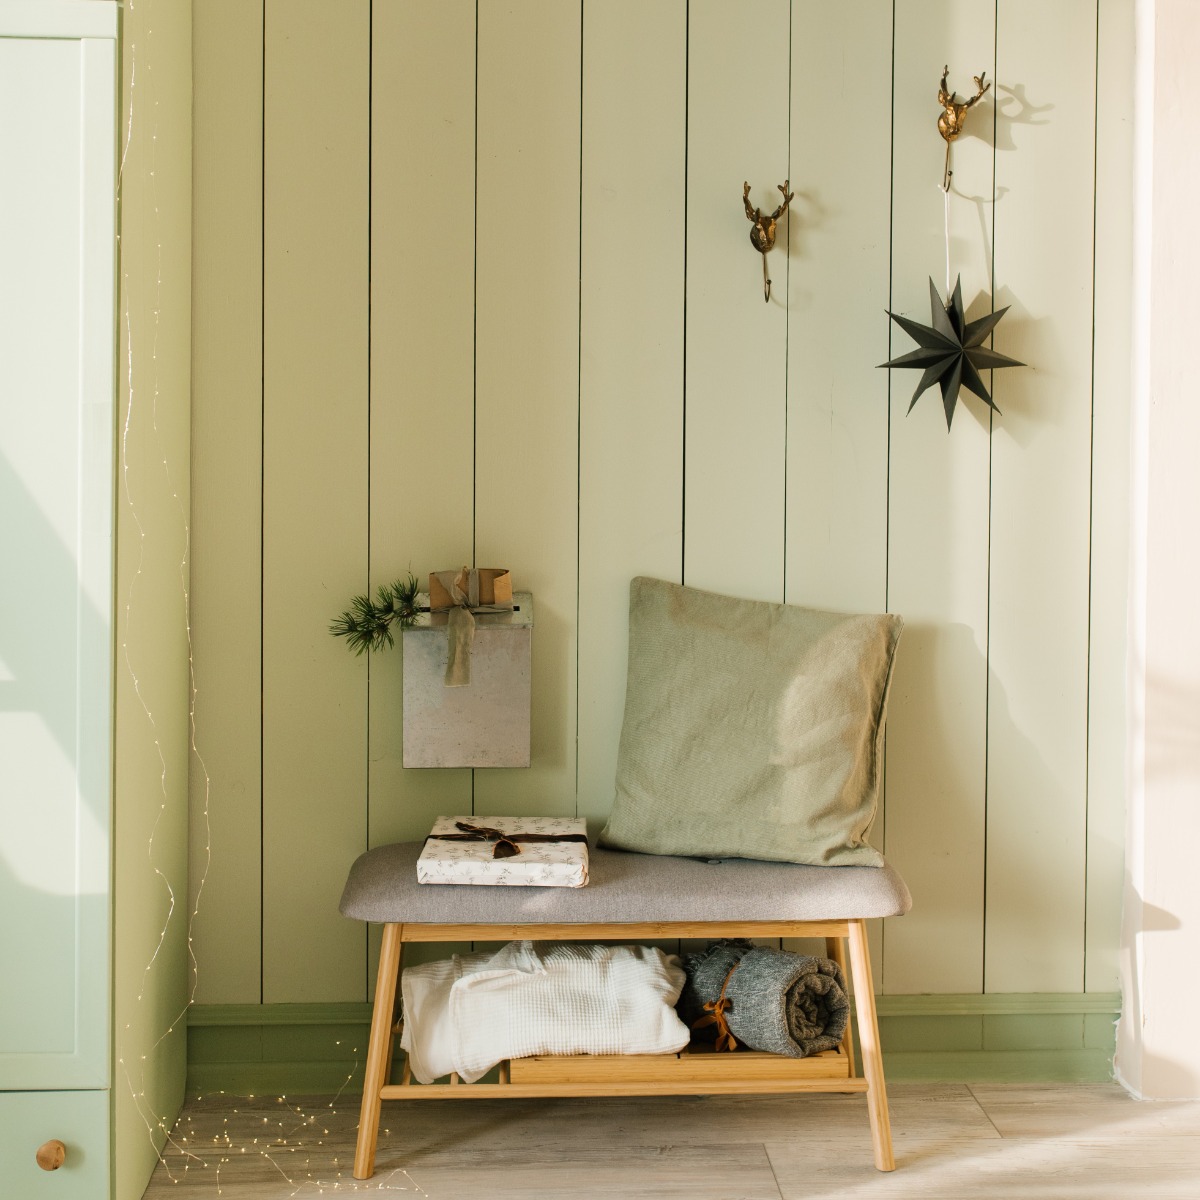
2. Shaker Wall Panelling
A bit of shaker panelling is an instant way to incorporate personal style to a wall.
Switch it up with mix-and-match shapes, getting as creative as you want. You can do half a wall or a full wall, or perhaps 3/4 – the choice is entirely yours.
Shaker-style panelling looks good as an accent wall in living areas
If you're going for a full wall, incorporate the same or different colours to the rest of the room. This effect will either create a bold or subtle accent wall, depending on what you prefer.
Alternatively, there's nothing to stop you from panelling the whole room! E.g. you could do half a wall all the way around. Remember, this is about getting as creative as possible and doing what you think would make your house, or space, a home. So, the possibilities are limitless!
Paint the wall in one colour for a contemporary look
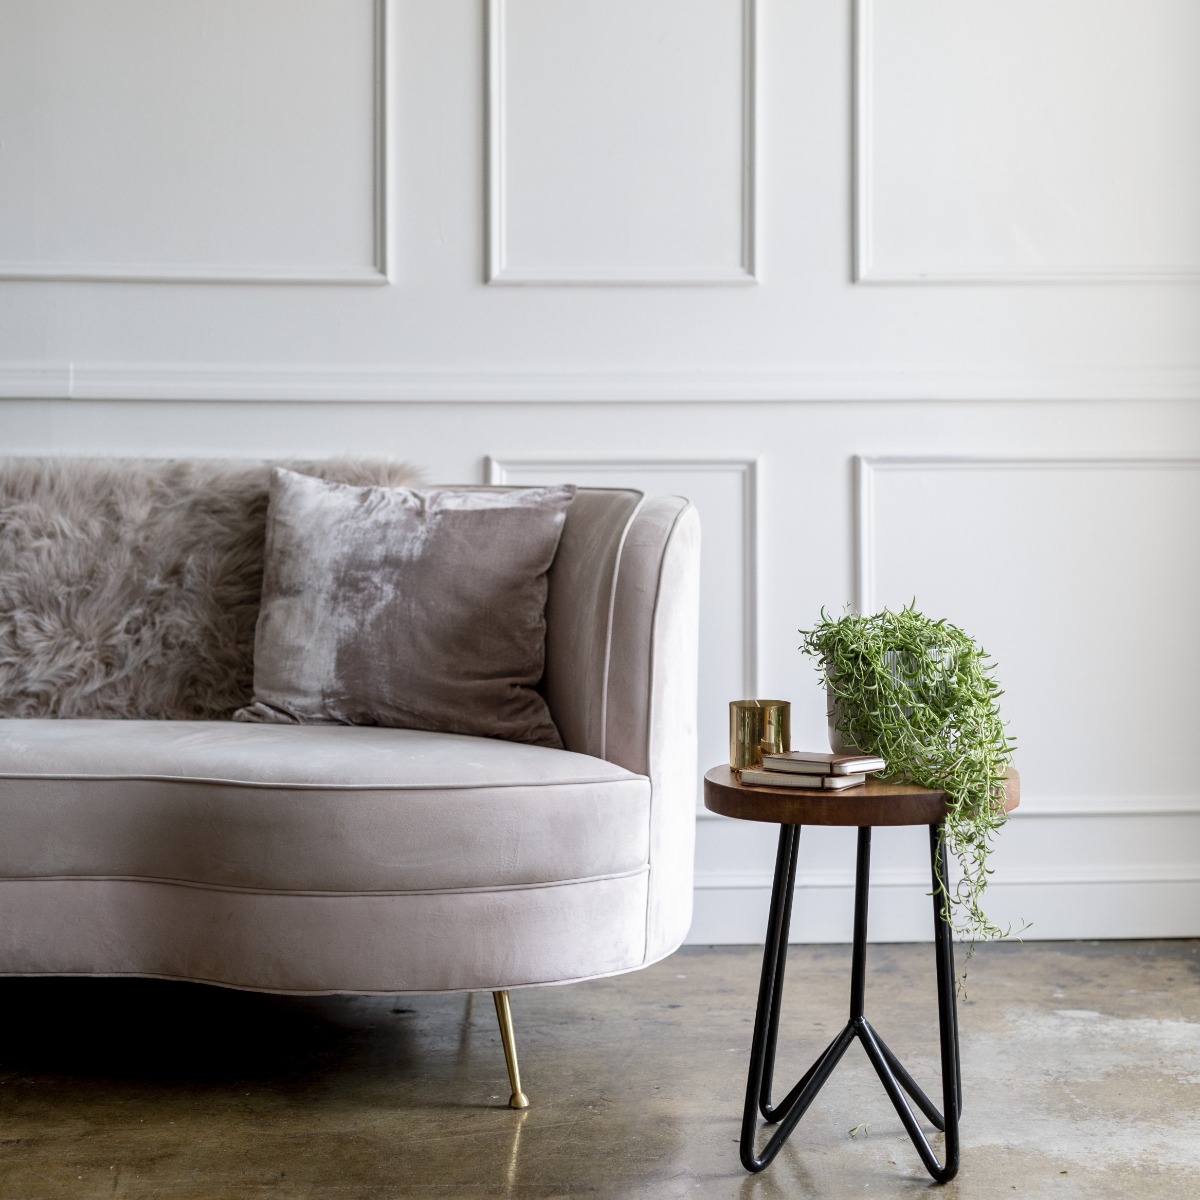
3. Grid-Style MDF Squares
When it comes to panelling designs, nothing says style quite like grid-style panelling.
This panelling method typically runs from your coving (or top of the wall if a room does not have this) to your skirting board / bottom of the wall.
You could choose to do a stylish half-wall...
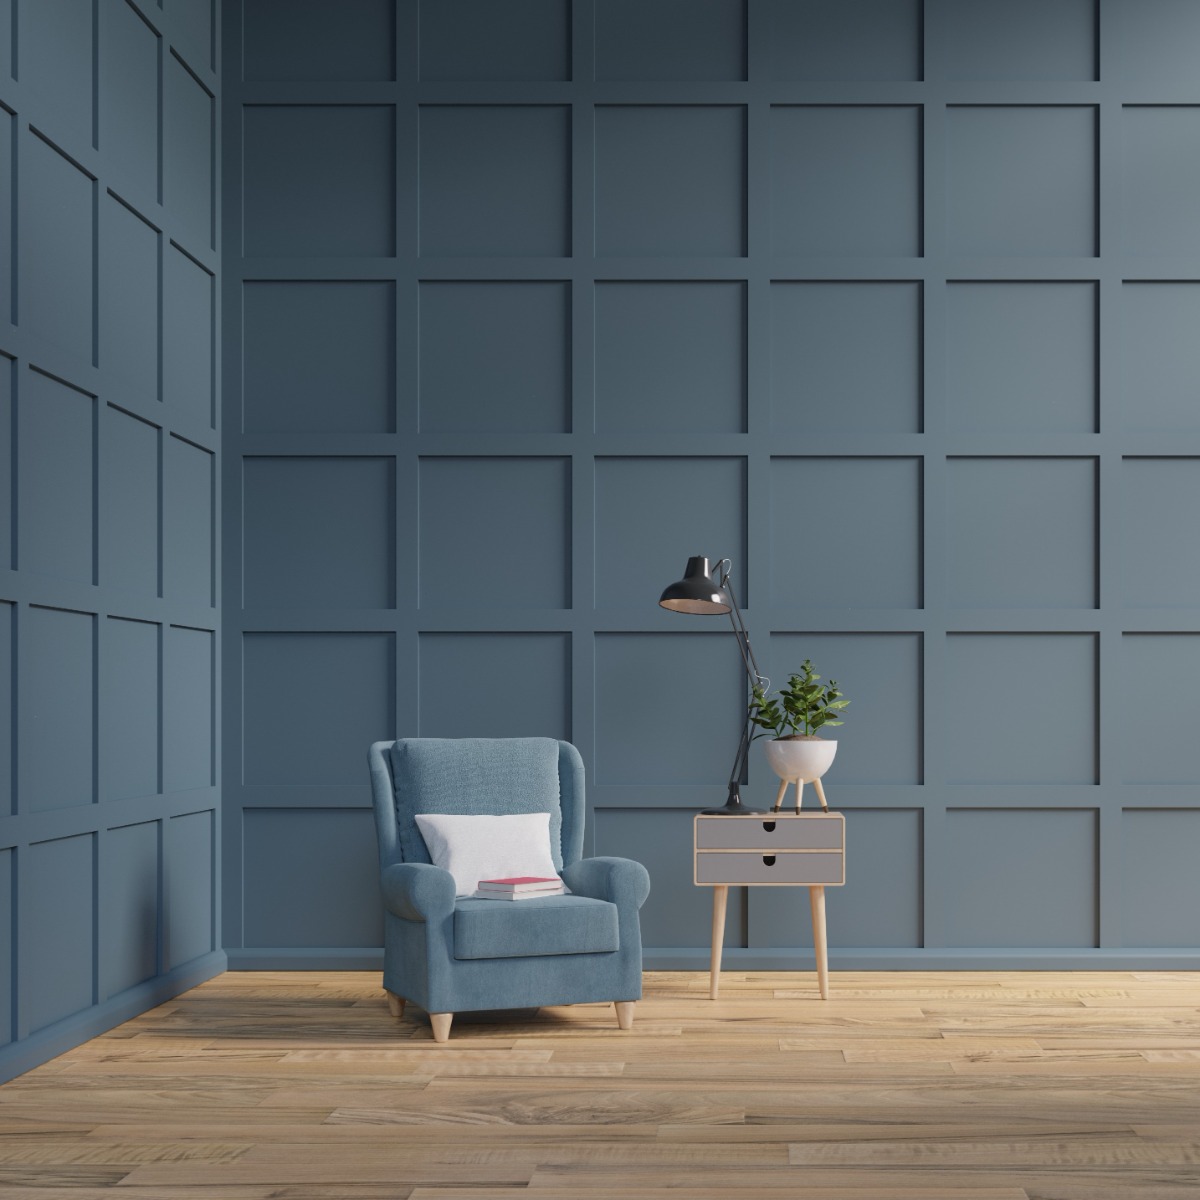
...or go crazy with squares on every inch!
Heard of 'Feng Shui'? (It's BIG on TikTok right now). It's an ancient Chinese philosophy that suggests the placement of objects must facilitate the flow of Chi – a force that provides wellness and success in all aspects of life. Grid panelling is great for this.
Grids let your walls do all the talking, keeping things spacious and simple without the need for additional decor, such as photos. You'll be surprised how much a clear (yet well-designed) wall can give you a clear mind!
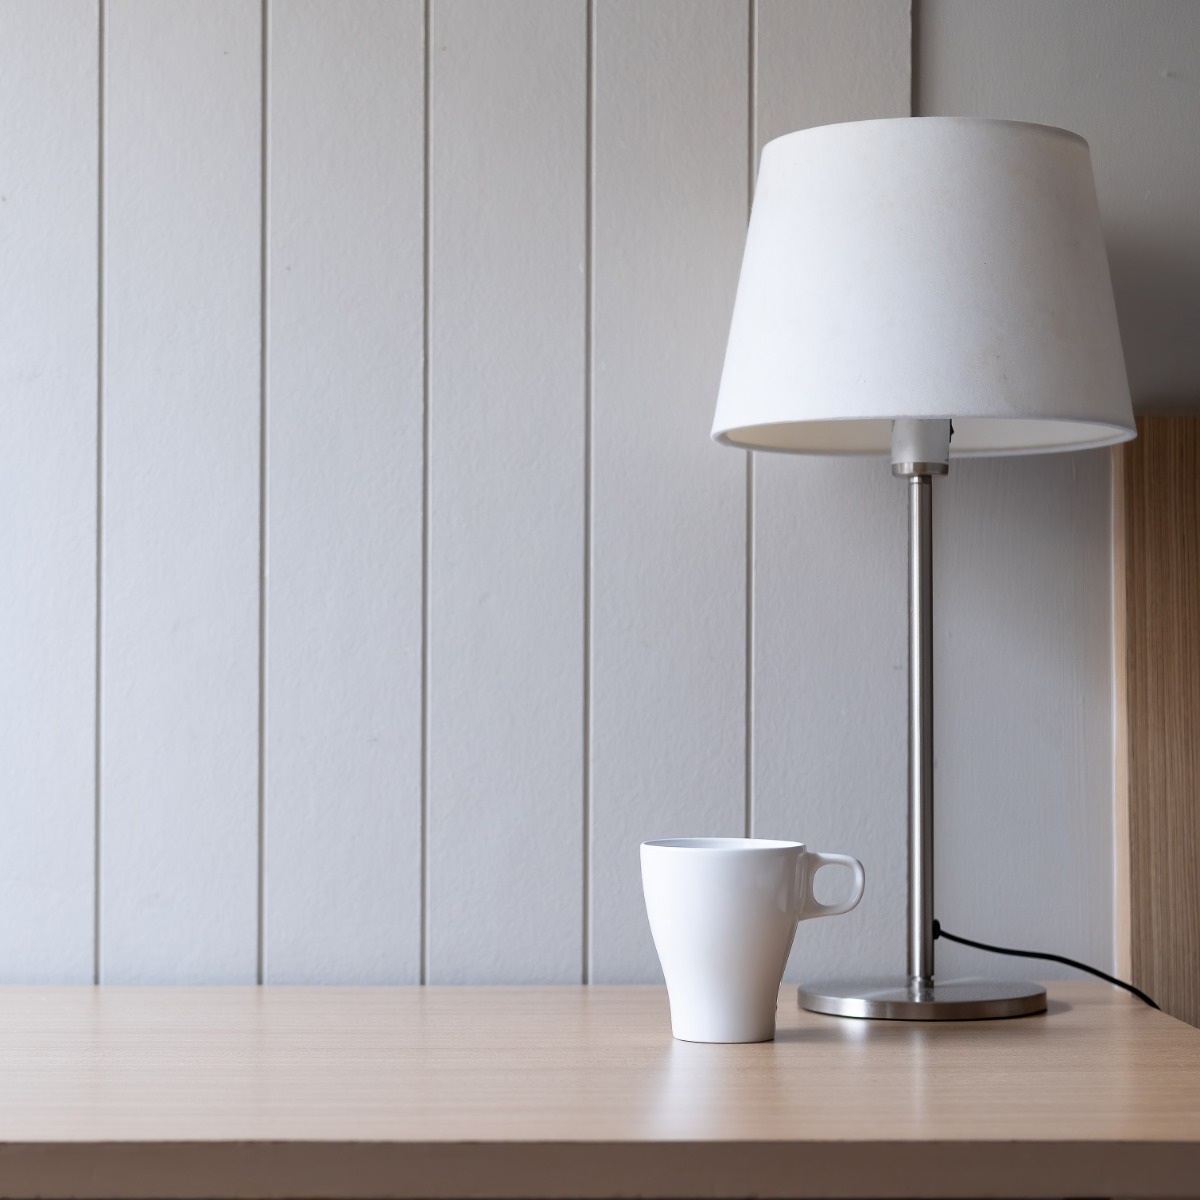
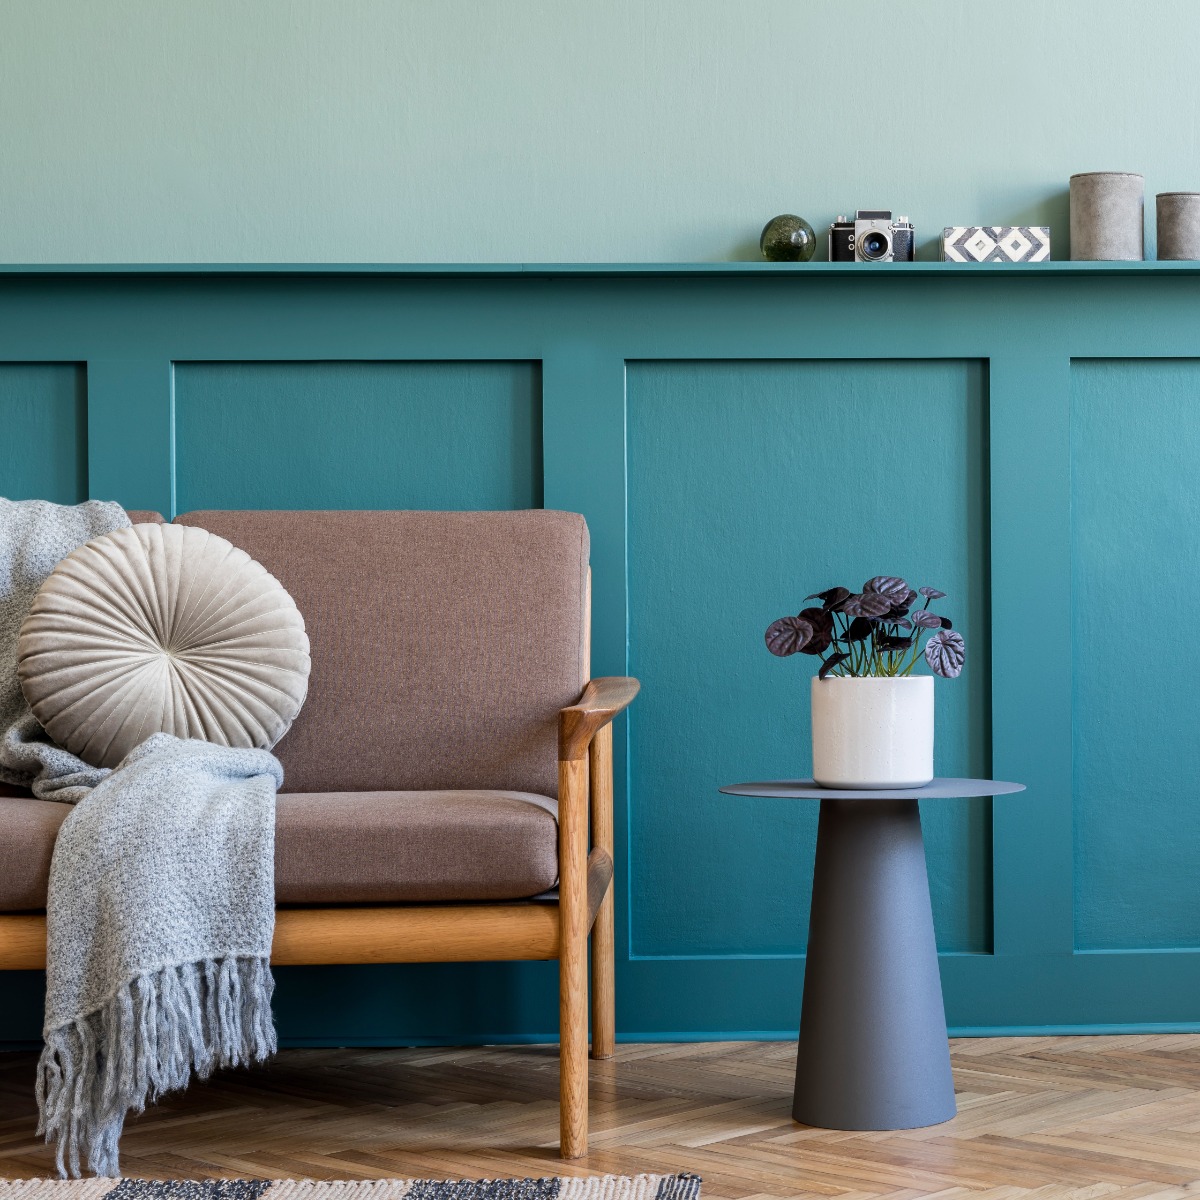
4. Contemporary Acoustic Wood Panels
Another great idea is to use acoustic wood panels. They're easy to fit, easy to maintain and even easier on the eye.
Hugely viral among avid home design content creators, this design works well in myriad places: from above kitchen countertops to behind the living room television. They're also a hit behind sideboards and sofas, adding a bit of pizazz to an otherwise plain wall.
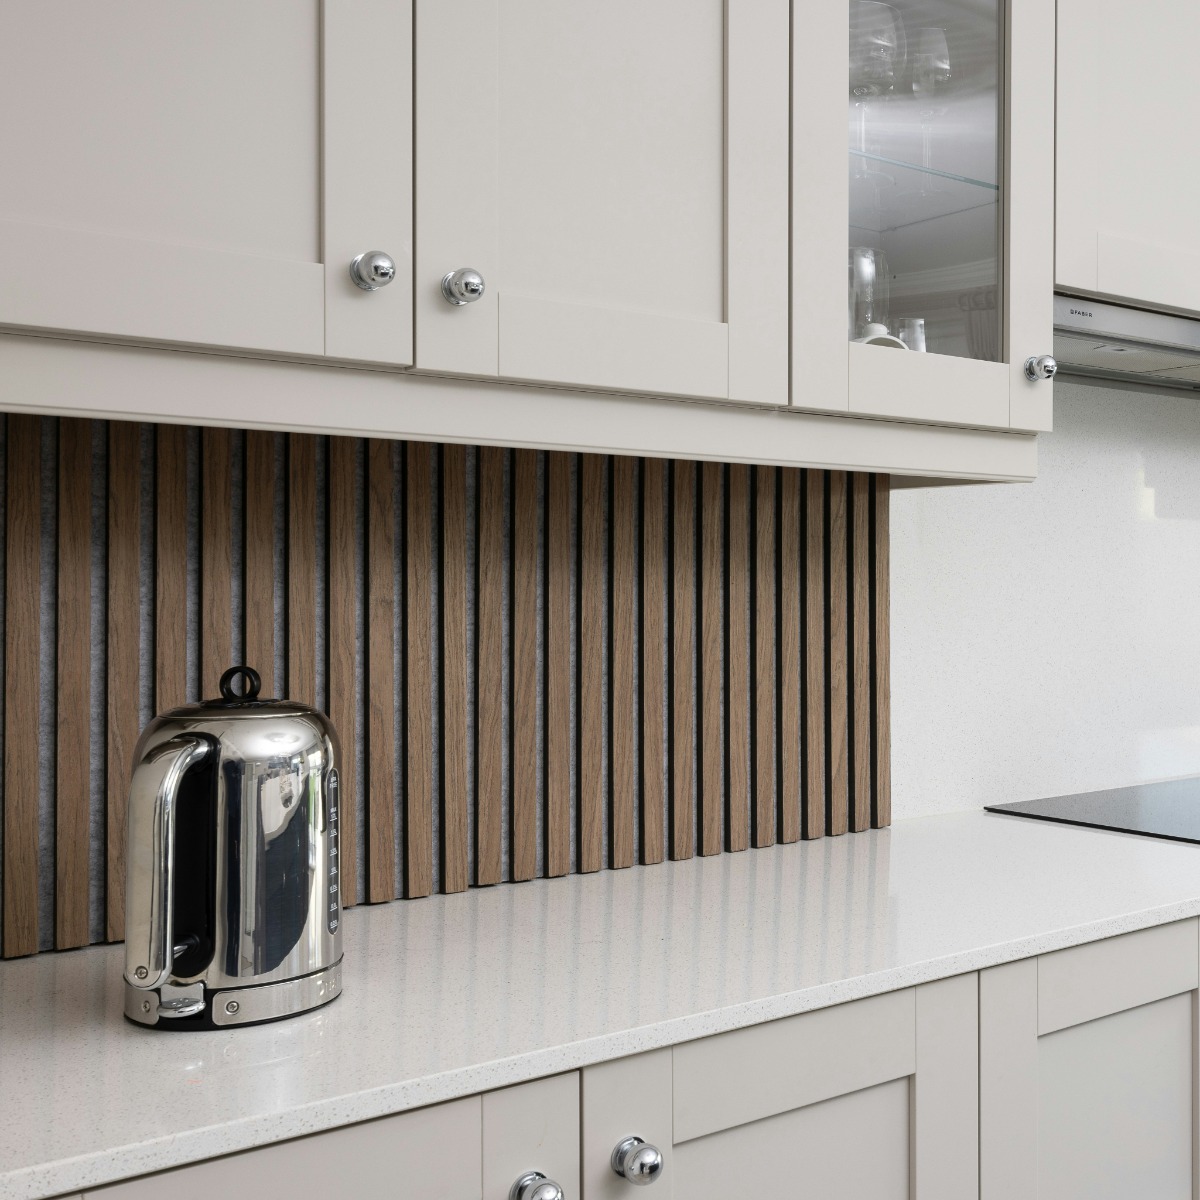
Wood compliments any natural colour scheme
Our advice: shop around for panels – you can buy them made to measure or cut them yourself. These panels are often on the pricey side, so do bear in mind your budget before committing to this design.
What's more, consider how much of the wall you want your panels to cover. You could do half the length or half the width of a wall, or even a whole wall, depending on what you like. All styles are very on trend!

A beautiful way to decorate your living room
5. Board & Batten Feature Wall
One of the most popular panelling designs is the board and batten wall, made from MDF wood.
A reason for this could be because of how easy it is to do for DIY-ers. Another is how professional and timeless it looks – even for those on a tight budget.
An architectural feature that's hard to miss
Originating from practicality, this design technique consists of alternating wide wooden boards (the 'boards') with narrow strips (the 'battens'), creating a visually appealing pattern.
Whether adorning a rustic farmhouse or a modern urban loft, board and batten panelling effortlessly infuses charm and warmth into interiors. Its versatility allows for customisation in terms of board width, paint colours, and placement, catering to various design preferences.
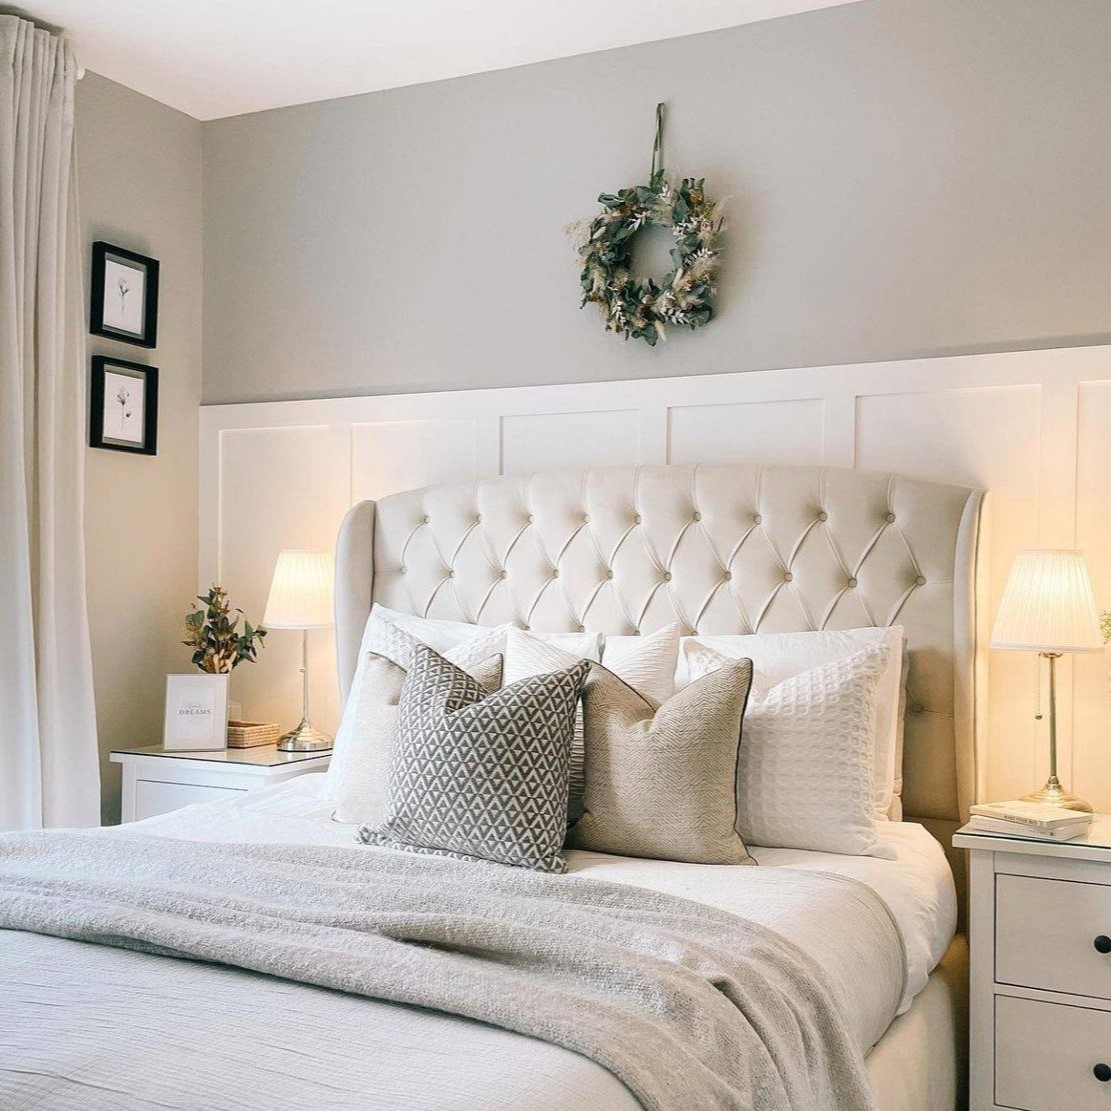
A stunning backdrop in a bedroom – © Pinterest
![]()
DIY Wall Panelling – How to Panel a Wall
With a design in mind, it is essential you have all the supplies you need to make your vision come alive.
In this tutorial, we will be creating a Board & Batten feature wall for a bedroom (taking inspiration from the Pinterest photo as shown above). A similar method will apply to all types of panelling.
Shopping list
Materials
- MDF skirting board (we used B&Q's Primed MDF)
- Pine Hockey Stick Moulding (we used B&Q mouldings for this, too)
IMPORTANT: you will need to measure in advance to ensure you have enough pieces to fill your wall. Skip to Step #2 to see how.
Equipment/tools
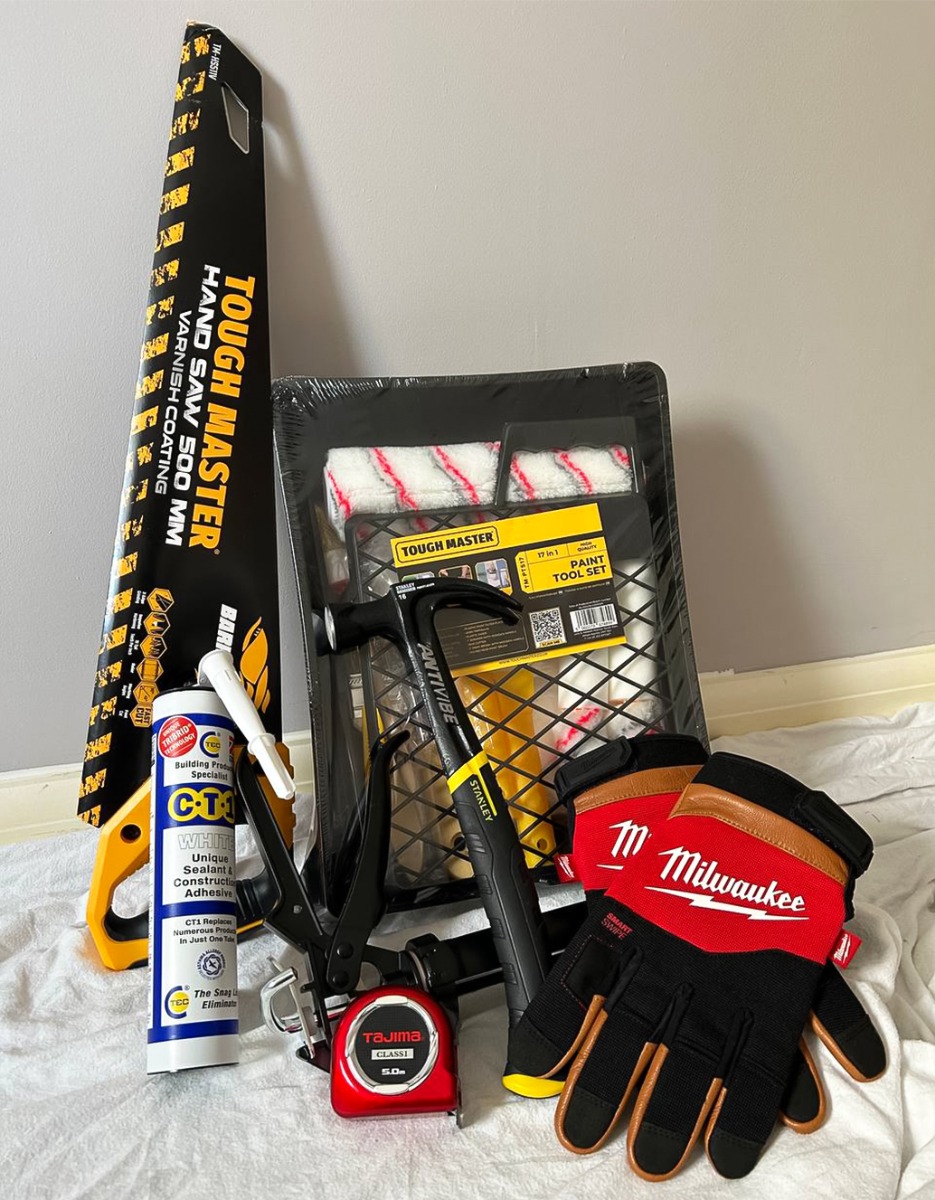
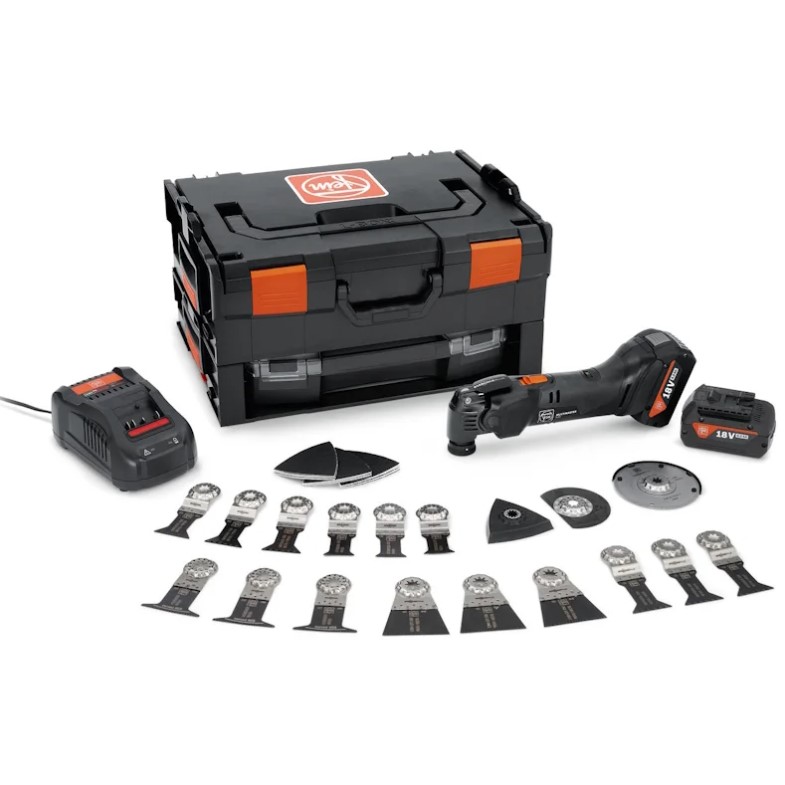
- Multi-tool (we recommend the FEIN AMM 700 Max Top MULTIMASTER 18V Oscillating Multi-Tool Kit)
- Paint Tool Set - paintbrushes, roller, carpenter's pencil etc. (all found in the TOUGH MASTER TM-PTS17 Paint Tool Set)
- Scraper (we have a fantastic selection of scrapers available, like the Marshalltown M5743 4" Flex Scraper)
- Sandpaper (Drywall Master 25-sheet multi-purpose Sanding Papers are ideal)
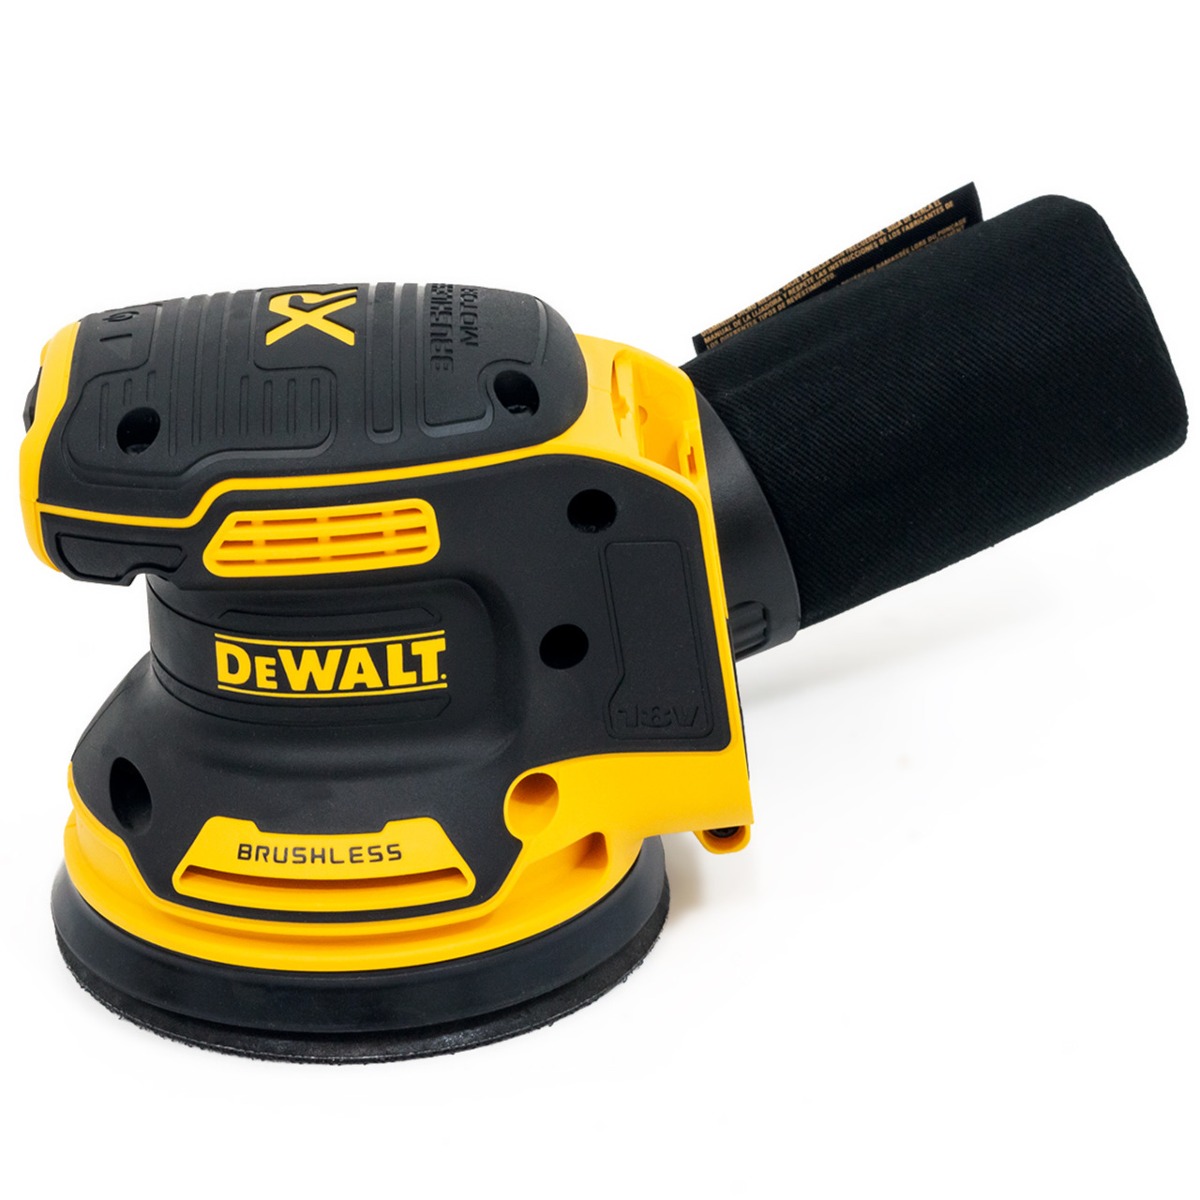
- Orbital sander (the DeWalt DCW210N 18V Cordless Orbital Sander is up for any job)
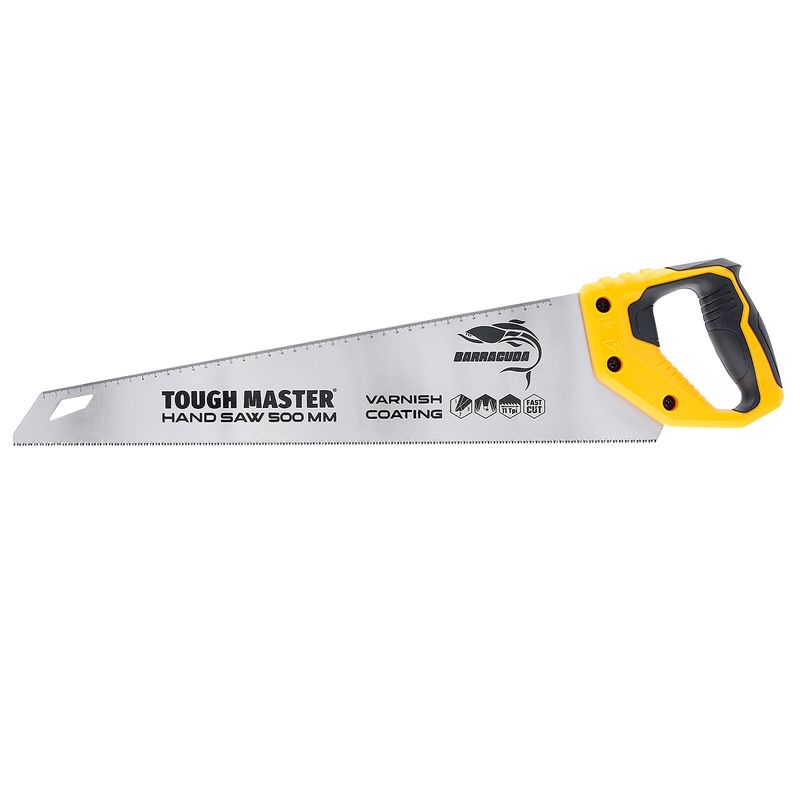
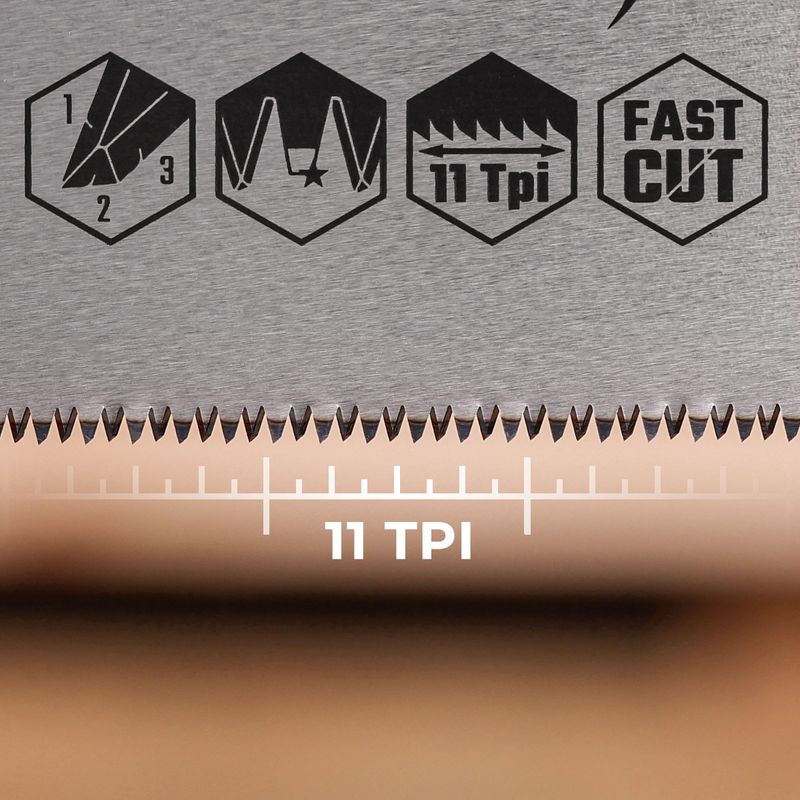
- Pull saw (the varnish-coated TOUGH MASTER TM-HS511V 11 TPI Hand Saw is a must-have)
- Masking tape (like Sealey General Purpose Masking Tape 24mm x 50m)
- Sealant gun (try the TOUGH MASTER TM-CG233M Sealant Gun for easy application)
- Sealant & Adhesive / CT1 (CT1 White TRIBRID Multi-Purpose Sealant & Adhesive - 290ml sticks like a dream)
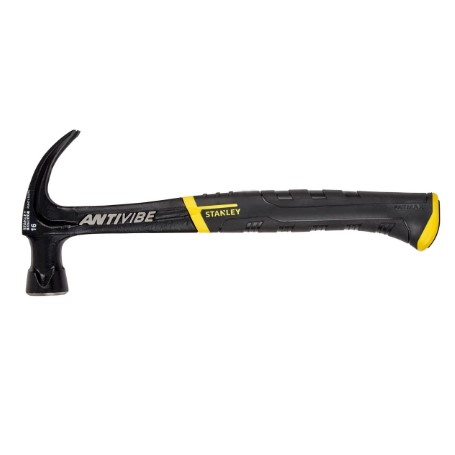
- Claw Hammer (you won't go wrong with the Stanley FMHT1-51275 FatMax Antivibe All Steel Curved Claw Hammer)
- Measuring Tape (quality and precision really doesn't get any better than the TAJIMA 5M Hi Lock Class I Pocket Tape)
- Work Bench (TOUGH MASTER TM-WB100B Workbench will make for a handy surface while cutting your MDF pieces)
- Spirit level (STABILA 3-Piece Combi Level Set is perfect for various applications)
- White wood primer paint
- Matt / emulsion paint for panels in brand & colour of choice, suitable on both MDF and walls (we use Dulux Pure Brilliant White matt emulsion)
PPE
- Safety goggles (protecting your eyes is essential: we like using Sealey Safety Goggles)
- Ear defenders (Milwaukee's BOLT range is best for noise protection when using power tools, like the Milwaukee BOLT HP Noise Protectors)
- Safety gloves (reinforced leather in Milwaukee Hybrid Leather Gloves increases protection and comfort on the job)
- Dust sheets (found in any DIY store)
DIY Wall Panelling Step-by-Step
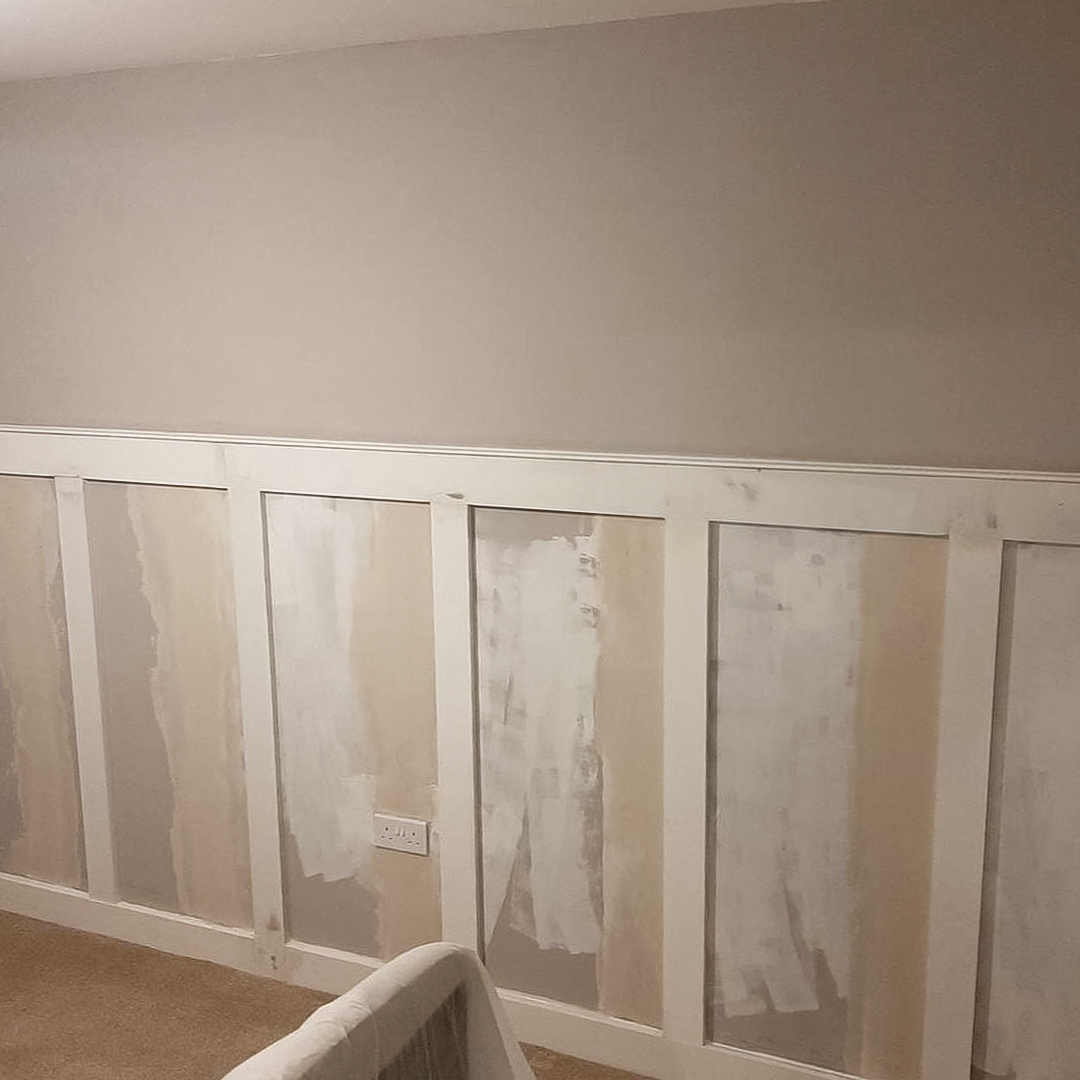
Step #1: Preparation
Want those dream results you've been pining for? Prep, prep, prep!
The best wall panelling designs come with patience and preparation. The more you do, the better it will look, and the quicker it will take. So, make sure the whole space is ready for action.
Cover furniture and floors with dust sheets, mark up walls with masking tape to cut in (if you don't like to do it freehand) and choose your colour scheme. We used Perfectly Taupe Matt Emulsion from Dulux. Our panels will be white.
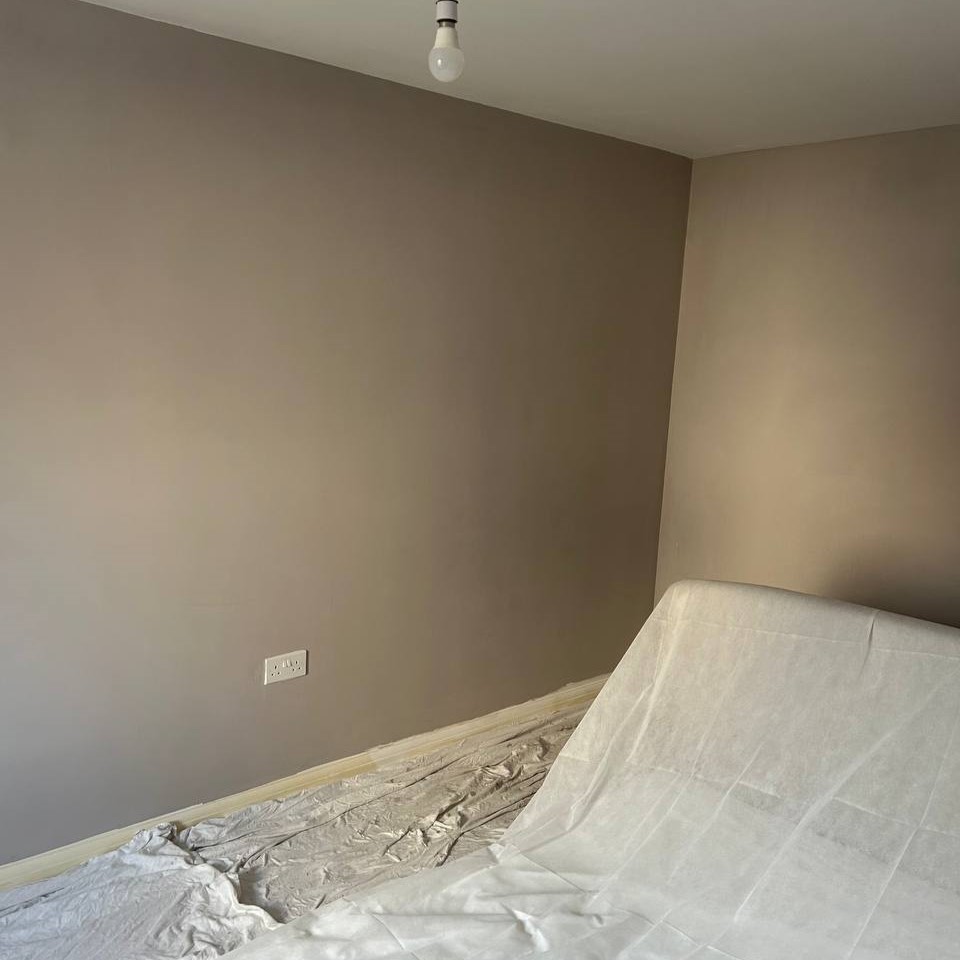
Our freshly prepped room
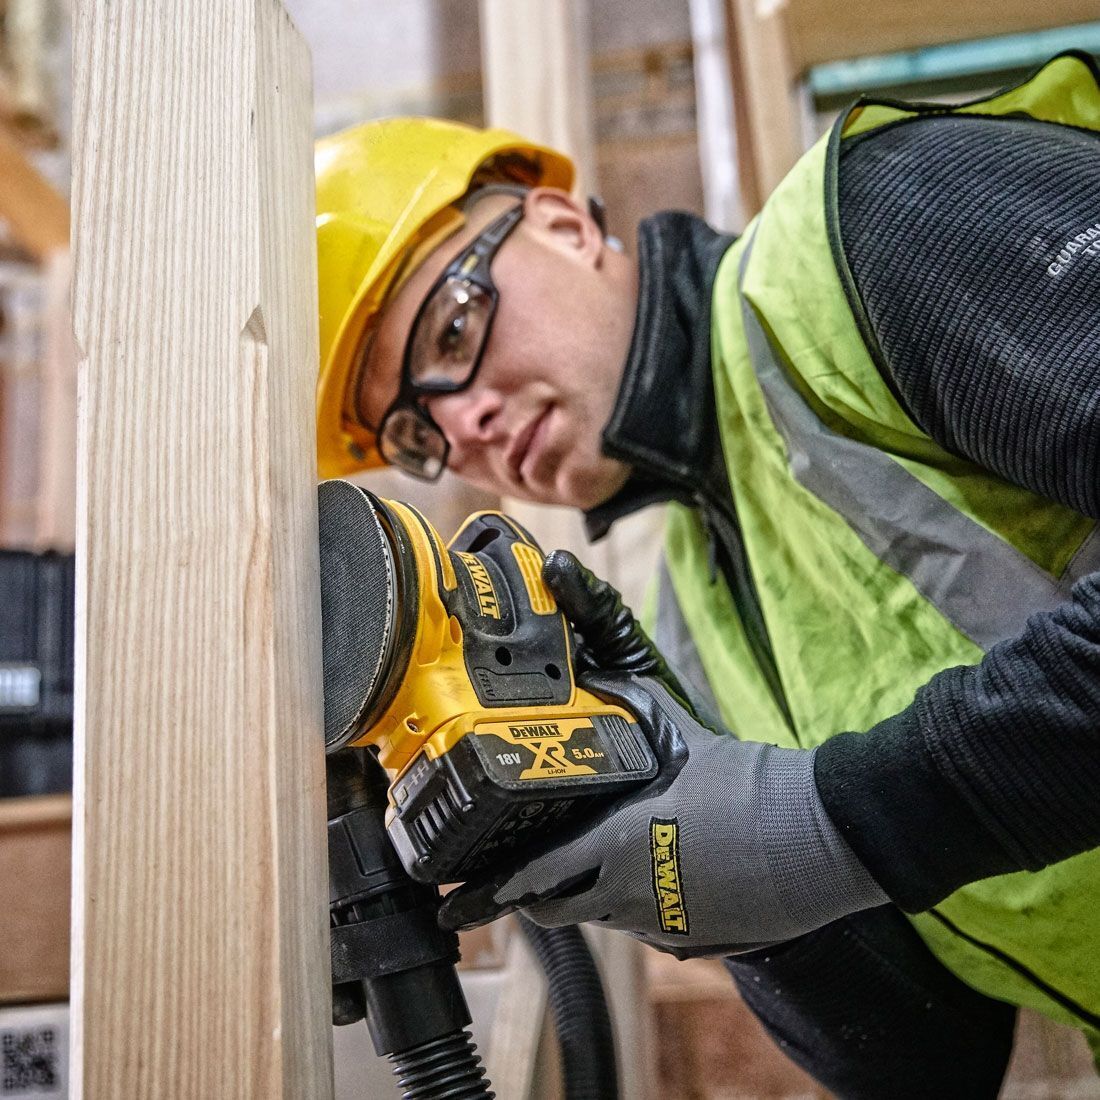
You'll also want to sand down any surfaces you think need a bit of brightening up, like your skirting boards, doors and windowsills. Do this before painting.
|
|
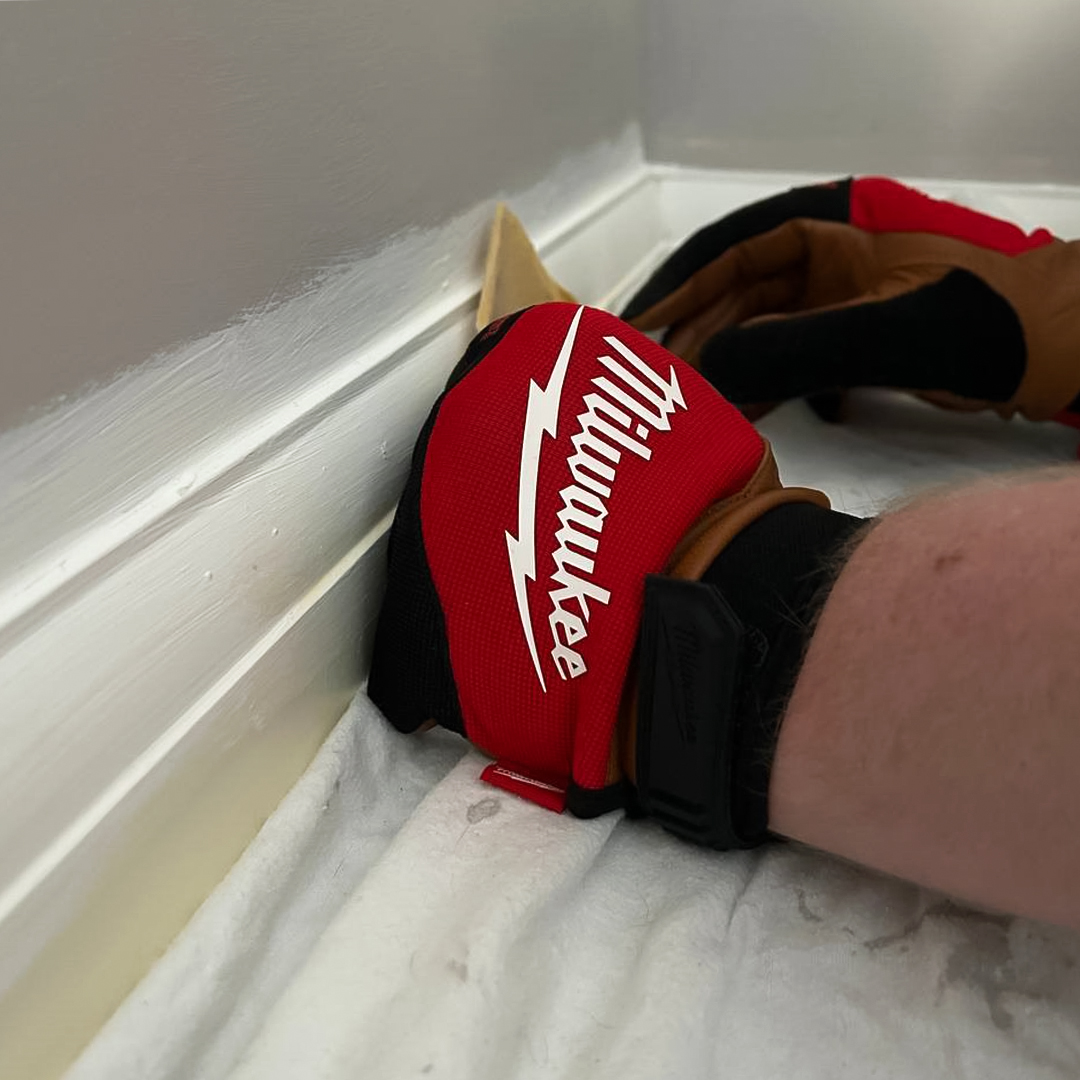
Remember your PPE when sanding! Your hands will thank you later. The Milwaukee Hybrid Leather Gloves are our top choice:
|

Step #2 Measuring
Pay close attention to this step: it could make or break your project.
You'll need to measure your walls in order to cut your panel(s) to size. If you've opted to cut them in a DIY store, you will have to provide the carpenter with the measurements of your walls to ensure you have the correct amount of MDF.
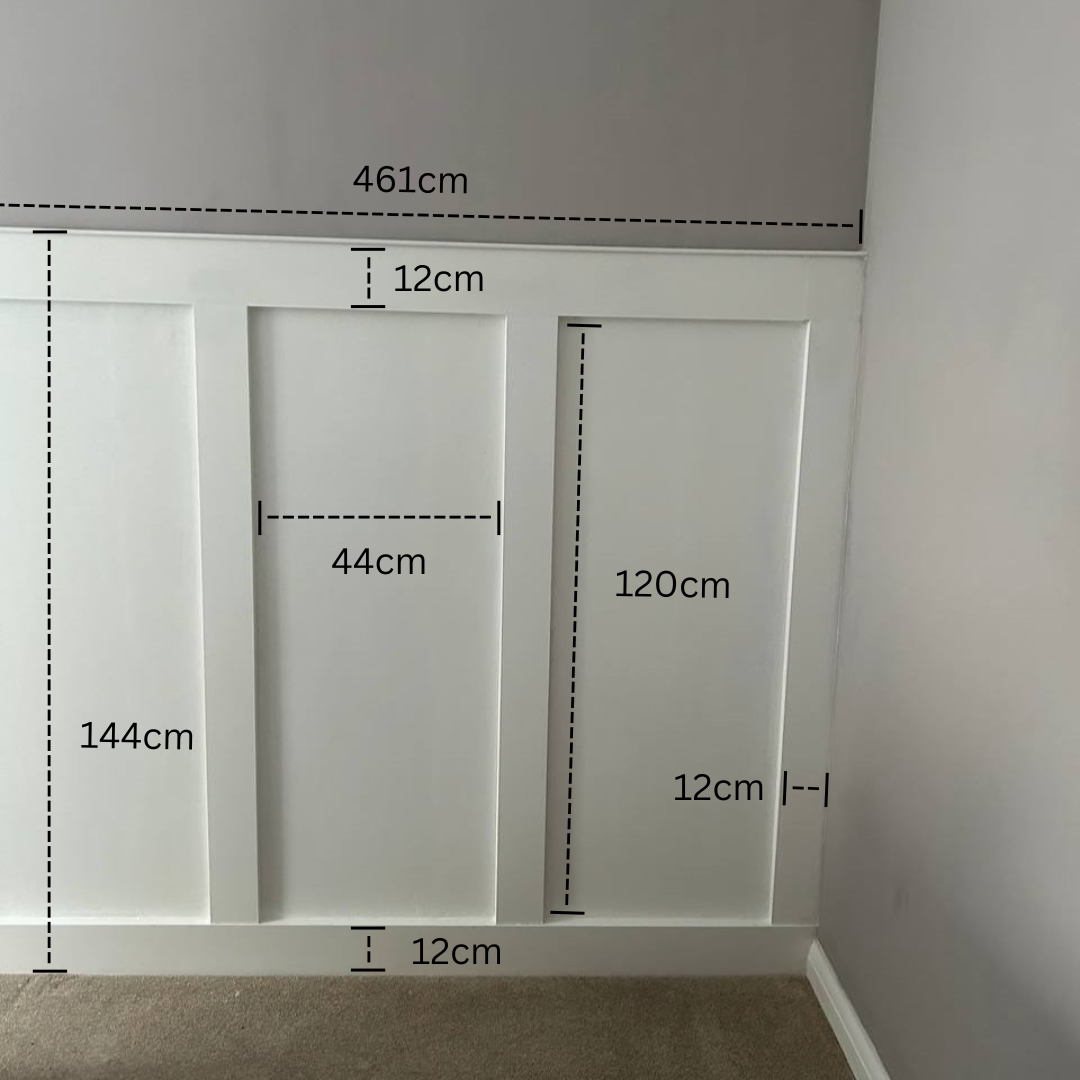
Our measurements (take only as an example)
For Board & Batten style walls, you will need to measure the following:
- The width of the wall
- The height you want your panels to go up to
Here's how we measured our wall:
- Wall length = 461cm, panelling height = 144cm.
With panels sized 240cm (L) x 11.9cm (W) x 1.8cm (T), we calculated that we would need x 2 to cover the top & bottom panels, with 19cm spare (to cut).
For the vertical panels, we wanted to use 9 panels, creating an even gap between each one. With a 461cm L wall and 12cm W panels, that meant leaving gaps of 44cm for even results.
- Gap calculation: 461cm (width of wall) minus 108cm (9 x 12cm / number of panels x panel width) = 353cm, divided by 8 (spaces between panels / number of panels minus 1) = 44.1cm.
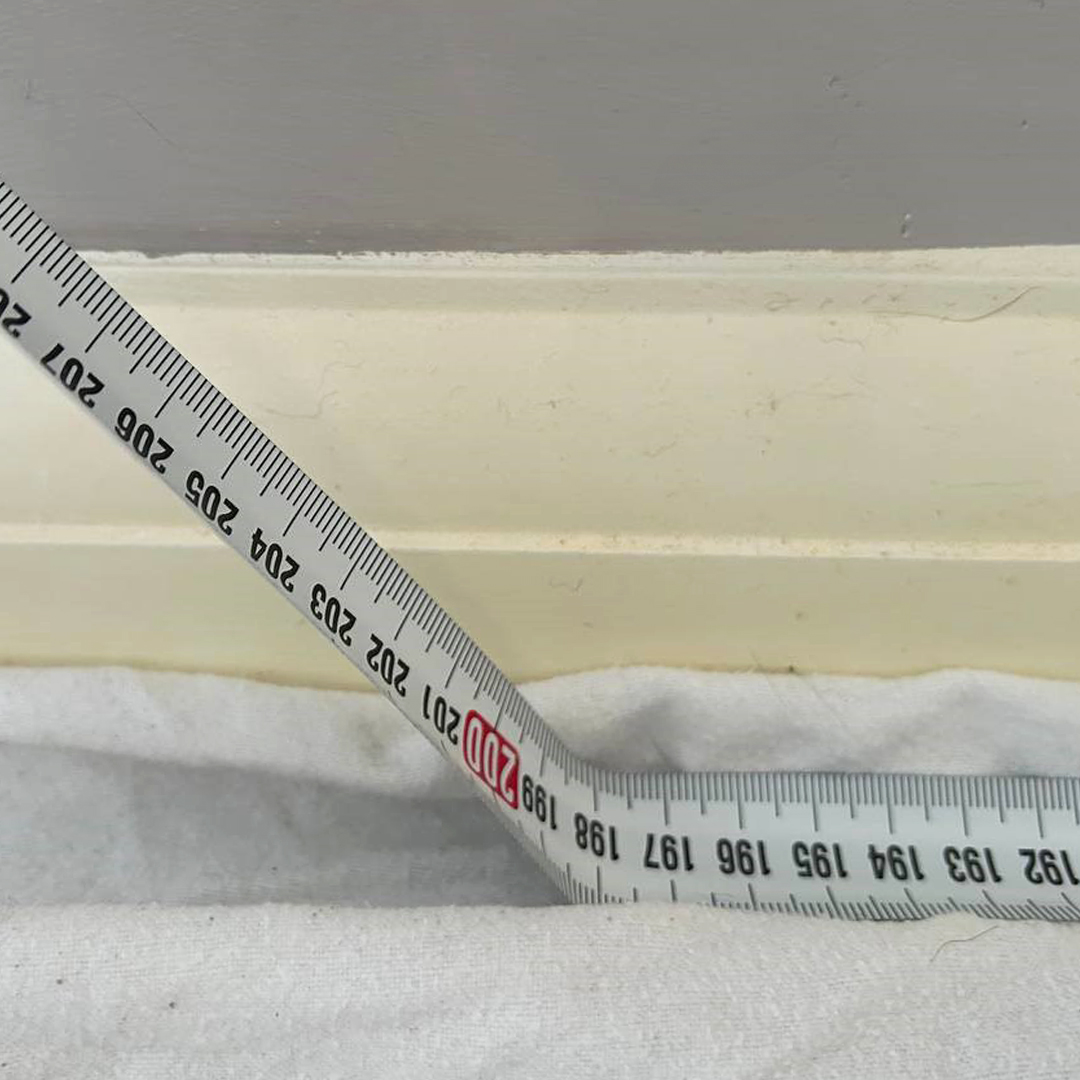
IMPORTANT: Bear in mind things like plug sockets, radiator valves and other obstacles that may get in the way of your panelling layout. You don't want to end up having to cut gaps in your panels. Save yourself the job and measure properly, marking your measurements with a pencil.
|
|
The TAJIMA Class I Tape Measure is essential when it comes to accurate measurements. Features include:
|

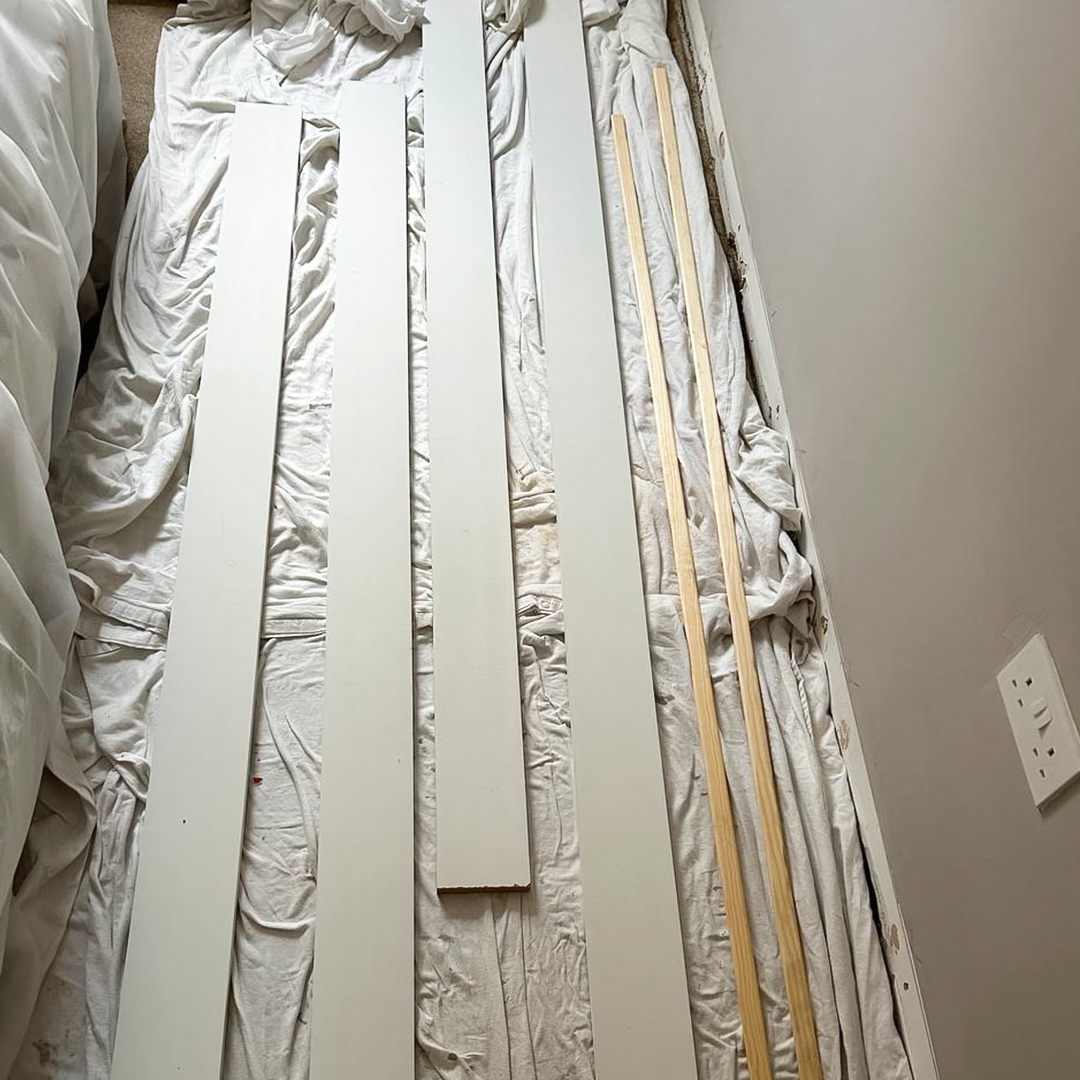
Step #3: Cutting your panels
Once you've got the hard (and most crucial) part of the planning done, it's time to cut your pieces to size.
Mark where you need to cut on the MDF with a carpenter's pencil. Then, with your best hand saw, prepare the MDF on your workbench and cut away. Ensure you are wearing safety goggles to protect your eyes from sawdust.
Vacuum away any remaining debris once you have finished cutting.
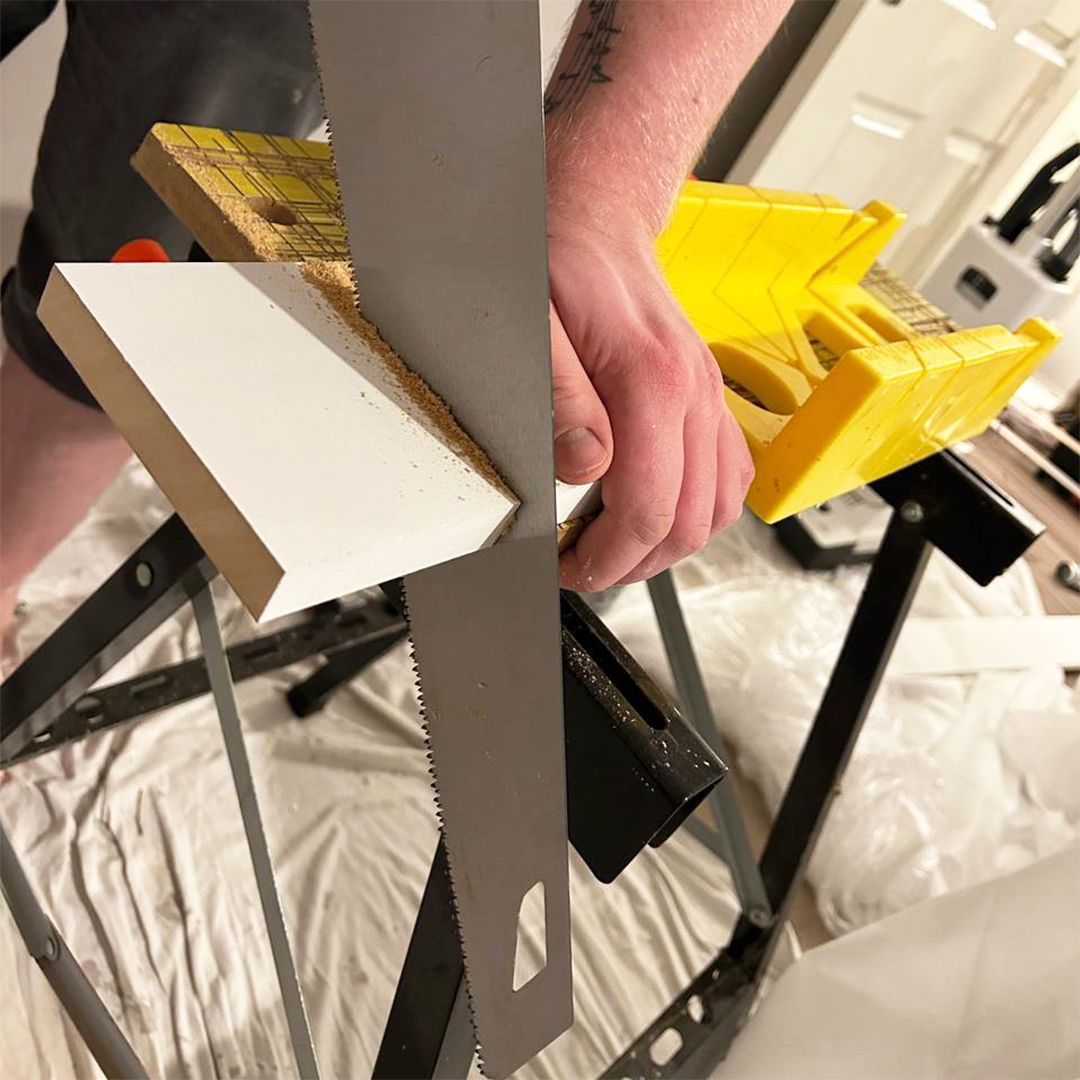
We use the TM-HS511V for a cleaner cut
|
|
Try the TOUGH MASTER 500mm Hand Saw now and benefit from this and more:
|
Step #4: Remove skirting
With your MDF pieces ready to go, you'll need to replace your current skirting board.
Use a claw hammer to pry away the skirting board from the wall. Be sure not to be too rough so as not to damage the wall underneath it. You'll need to be wary of things like nails, too.
Wear your Milwaukee safety gloves to protect your hands during application.

Claw hammers can work like a pry bar
|
|
The Stanley FMHT1-51275 is particularly ideal for multi purposes, with an anti-vibration feature and many other benefits to enjoy:
|

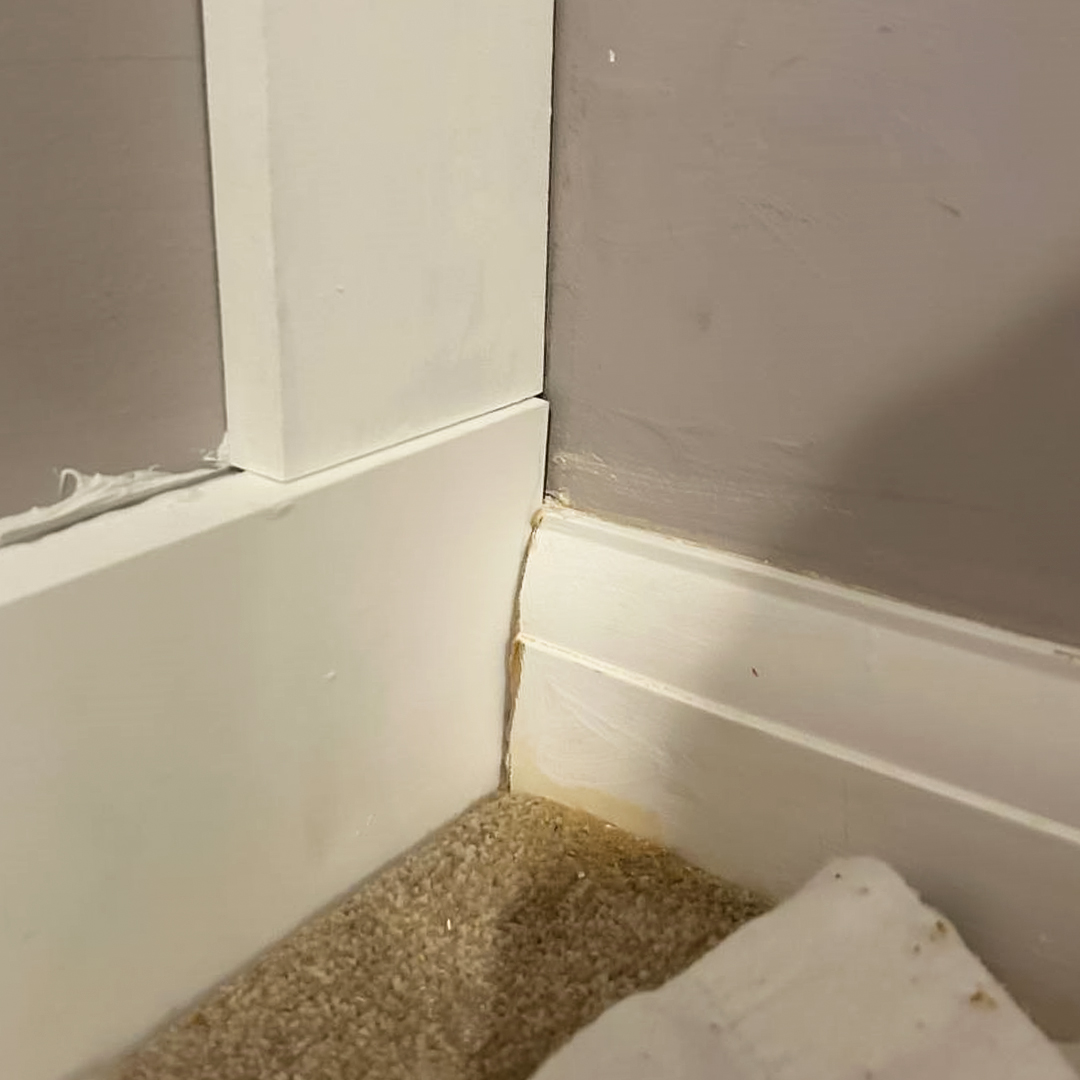
Step #5: Trim adjoining skirting boards
You'll want to ensure there is enough of a gap to slot in your new MDF skirting board. That requires a sharp and ergonomic tool that can cut corners with ease.
We recommend using a multi-tool for this since it is compact and maneuvrable (this is going to be quite an awkward cutting angle!) Don't worry if the result is a bit messy on the panelling side of the wall – that will soon be covered and sealed.
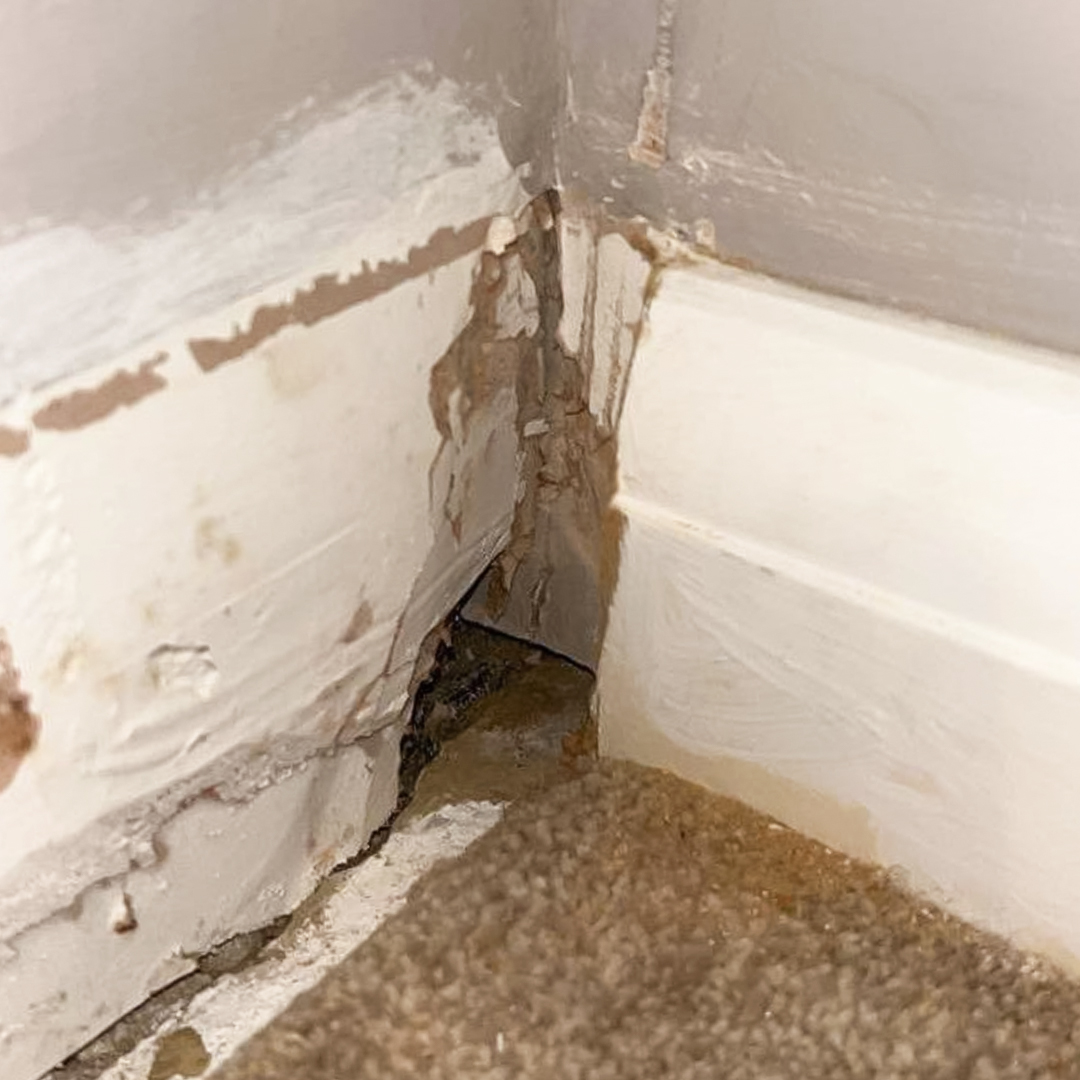
Gap cut for skirting board
Remember to do this on both sides and measure again before you cut. You should be leaving enough room for the thickness of the board (so, we would be leaving enough to allow for a 1.8cm thickness as per the measurements of our panels).
|
|
The FEIN MULTIMASTER Black Edition has all the power and accessories you need for the job:
|

Step #6: Get painting!
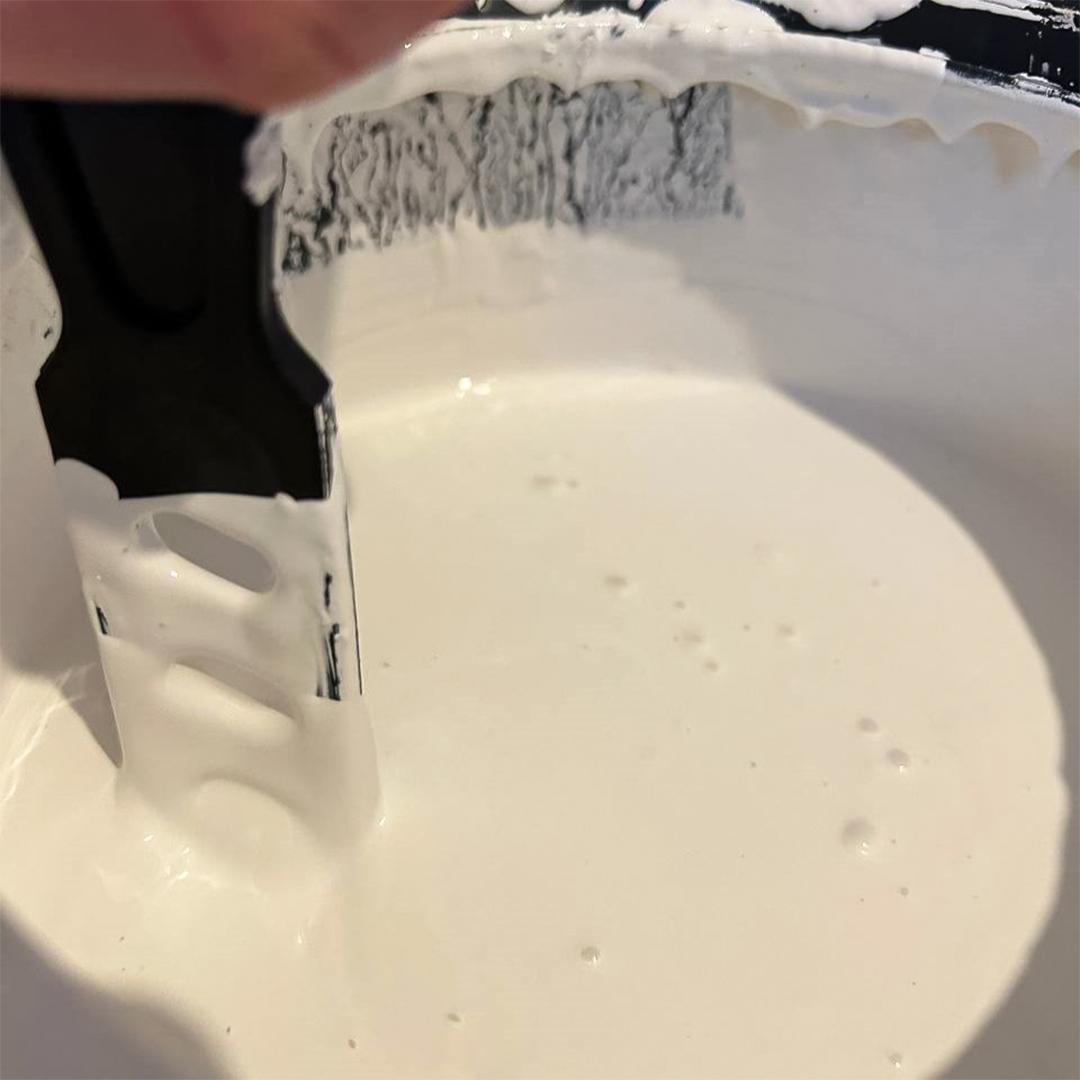
With your panels ready to go, it's time to start painting them!
If your pieces are not already primed, get a good white wood primer and slather that on first. Be sure to stir the paint first. We use the TOUGH MASTER paint stirrer included with our paint tool set to get it as smooth as can be.
|
|
Choose the TOUGH MASTER TM-PTS17 Paint Tool Set for all the accessories you need for your paint jobs:
|
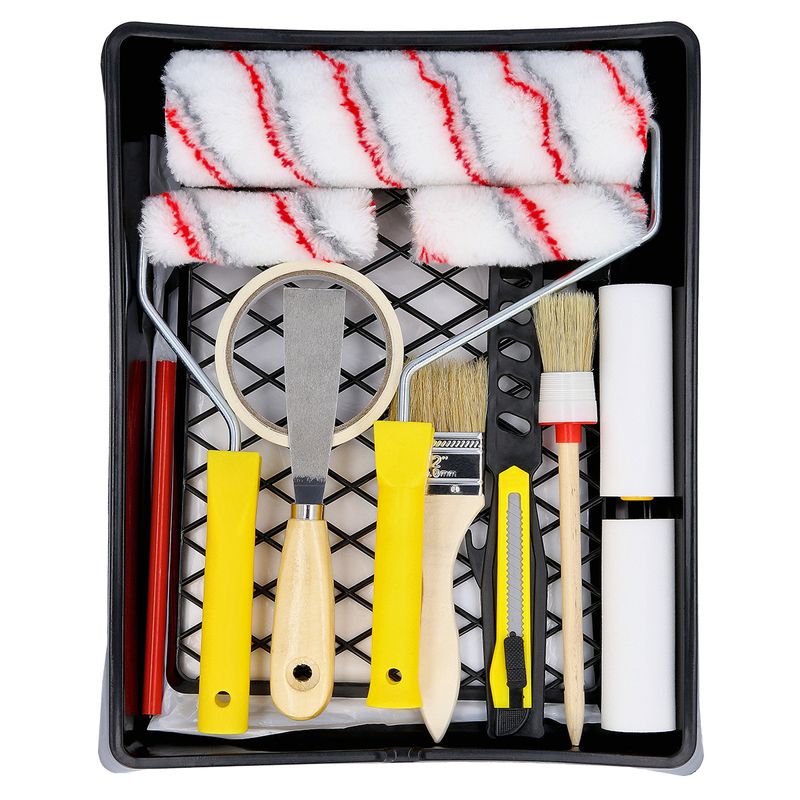
If your pieces are already primed, jump straight to painting in your colour of choice. The TM-PTS17 includes brushes and rollers just for the job!
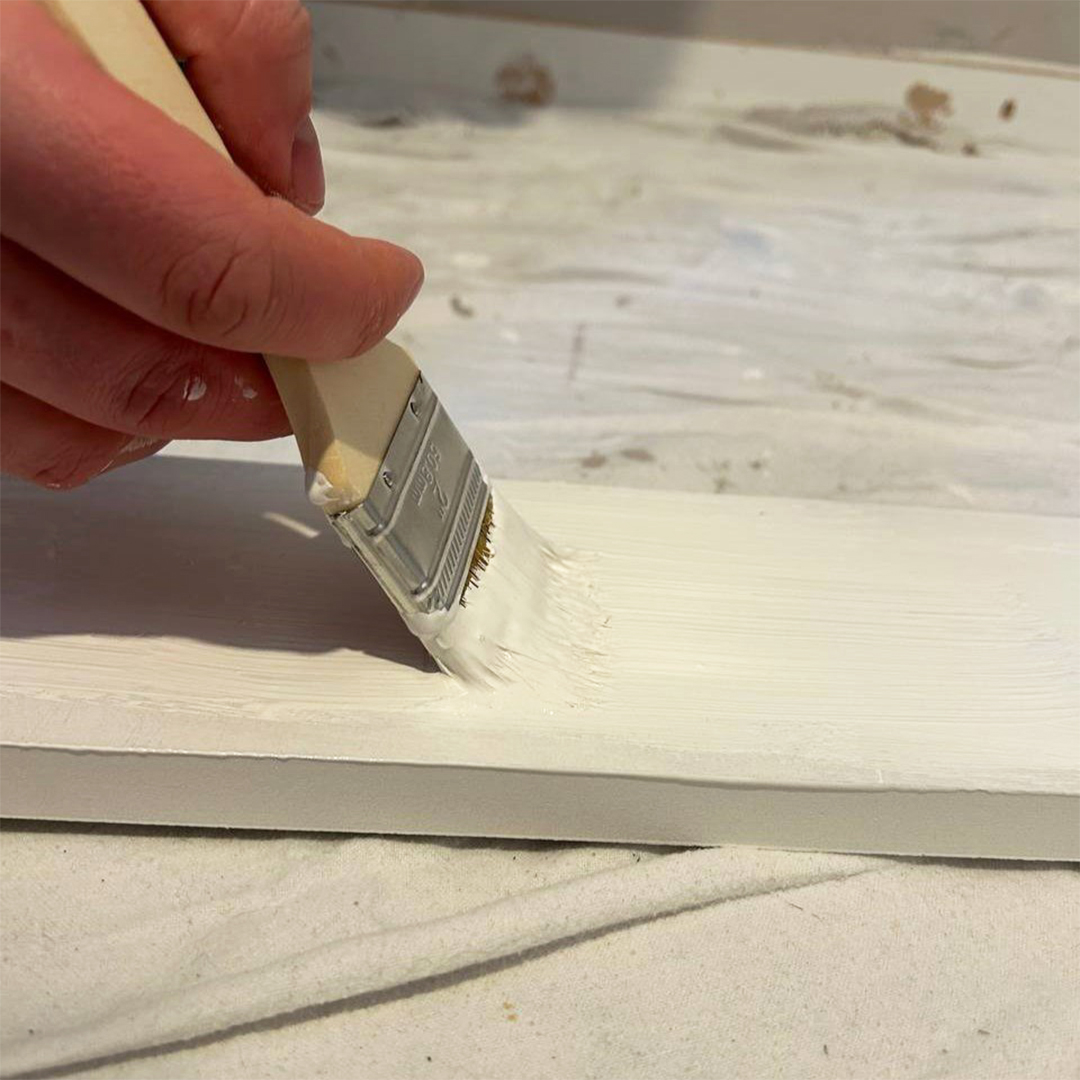
Our TOUGH MASTER paintbrushes make painting so much fun
Step #7: Stick your skirting board first
Crank out the CT1: it's time to get sticking!
Place your sealant in a sturdy sealant gun like the TAJIMA CONVOY 12 or TOUGH MASTER TM-CG233M with foam flow regulators that stop drippage when the trigger isn't pressed.
Start with the skirting board (your long bottom board). Add your sealant in a zig-zag motion or similar: just so long as you don't miss any parts (but stray from sealing the edges to avoid a messy finish).
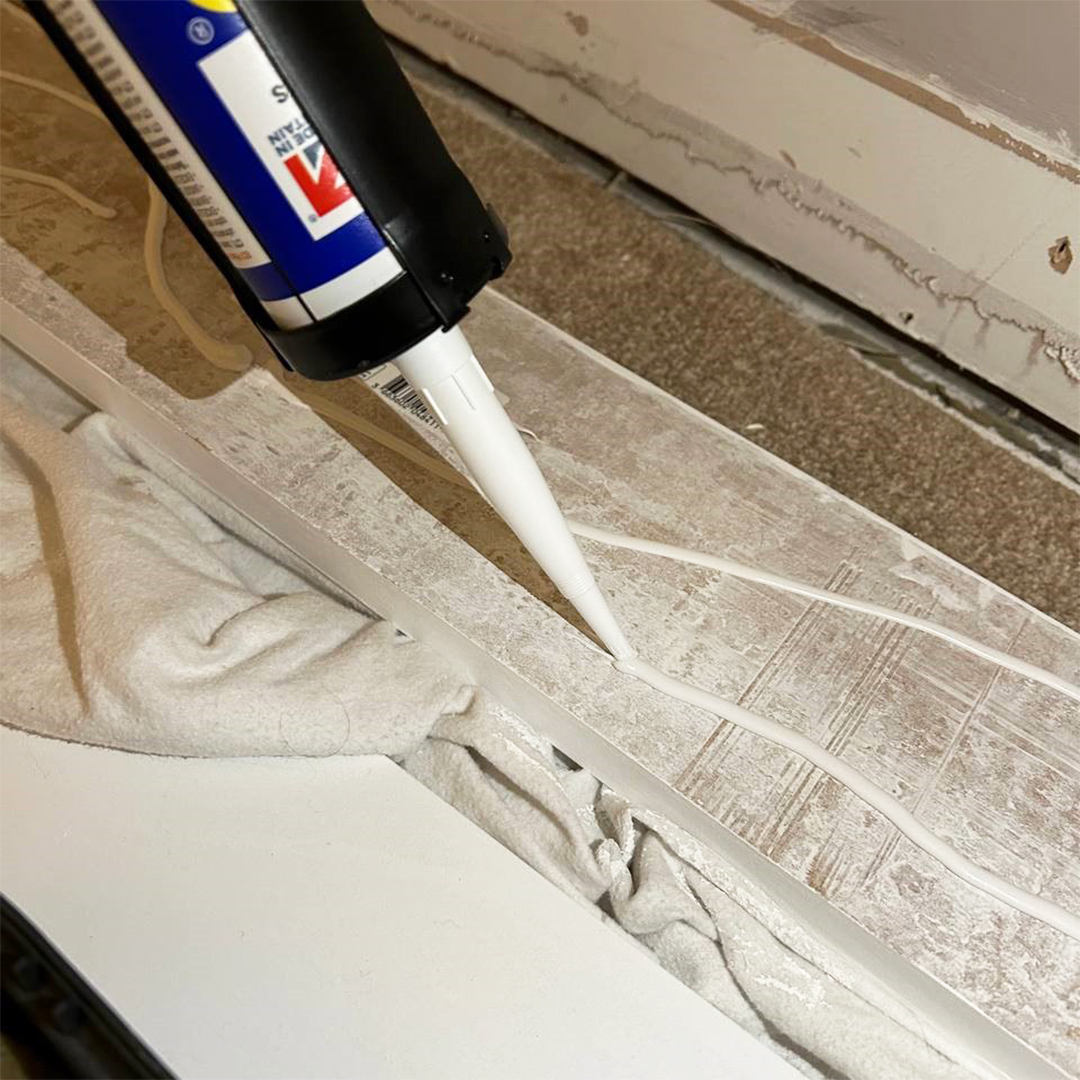
Good coverage goes a long way
Next, slot your skirting board on the wall. If you have measured it correctly, it should fit like a glove. If not, you may need to trim the adjoining board a bit more.
You can then begin to add your first vertical MDF pieces to either end.
How your skirting board should slot in the gap
Step #8: Add MDF pieces one by one
It's all coming together now, so you can start adding your vertical pieces one by one.
Find the markings on the wall as to where your pieces need to be stuck. It's a good idea to hold your pieces to the wall first to make sure it looks right.
Tip: grab a partner and a measuring tape and get them to hold the MDF to the wall for you. Make sure the gap between boards is correct to how you calculated. You may need to add a new marking if you went wrong (this is okay, it will be painted over).
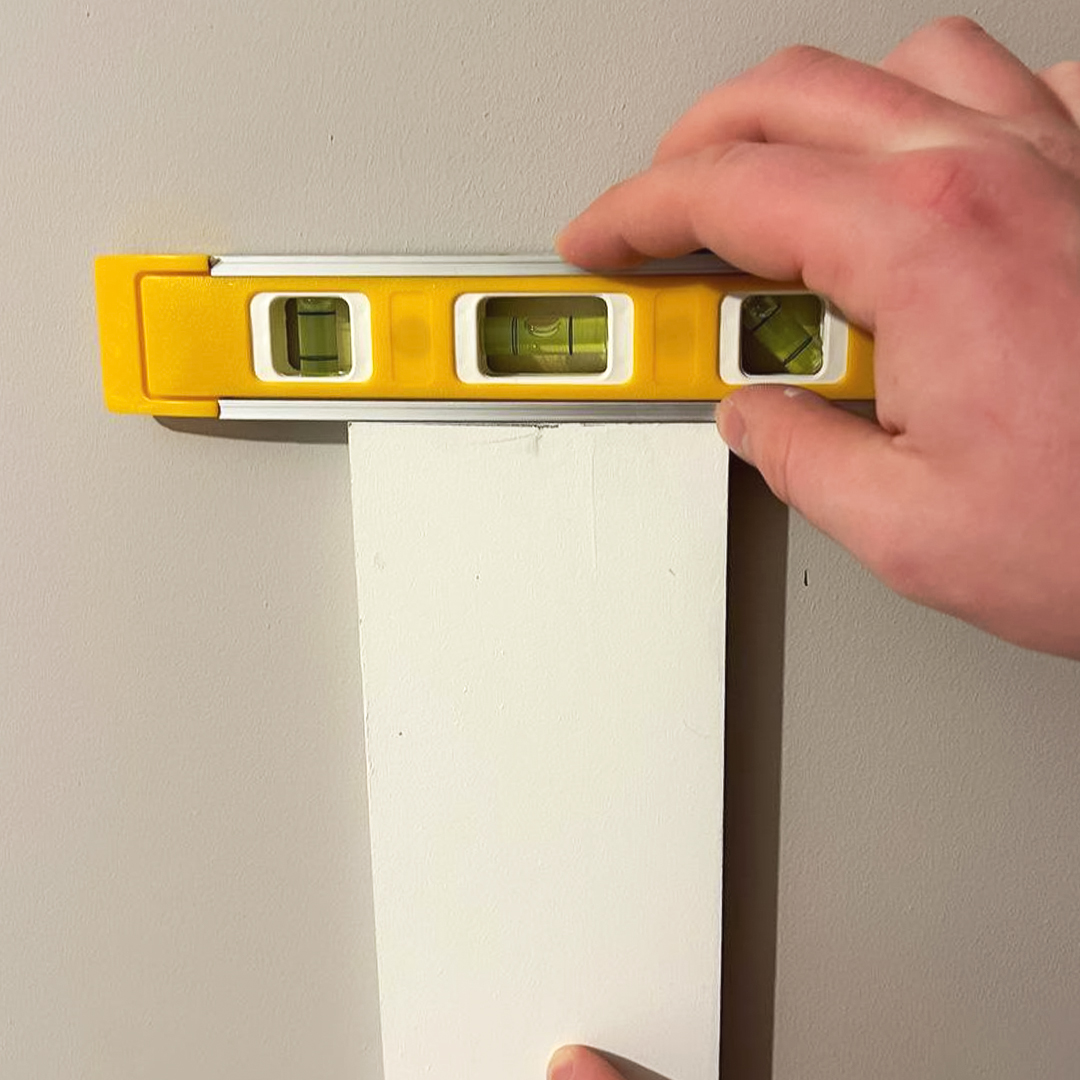
A mini spirit level can also check the pieces are in the right place
Once you've stuck your piece(s) on, check everything is level. The bubble should show in the middle if it's lined up straight. This is a very important step: if it's misaligned, it will be a mission to take it off and re-plaster.
Step #9: Top it off
Happy with how everything looks on the wall? Gaps even? Panels not running over the plug sockets? Perfect. You're almost done.
Seal your last panel on at the top. It should sit well on top of all your vertical pieces. Finish it off with your hockey stick moulding, which sits above the last bit of MDF.
When that's done, add sealant to the corners, filling in every gap, nook and cranny. This will ensure a clean look and prevent moisture from trickling underneath the panels. Leave to dry.
Panels looking good!
|
|
Once that's dry, sand it down, making for easy painting application. We recommend the DeWalt DCW210N:
|
Step #10: Finishing touches
Now for the grand finale: the panel painting!
Give the panelling and walls in between a coat of paint in the same colour. Cut in carefully around the edges. You may need to use masking tape or Frog Tape to ensure no paint bleeds over.
Once dry, do another coat if necessary. Repeat until you are happy with it (usually, two coats are more than enough).
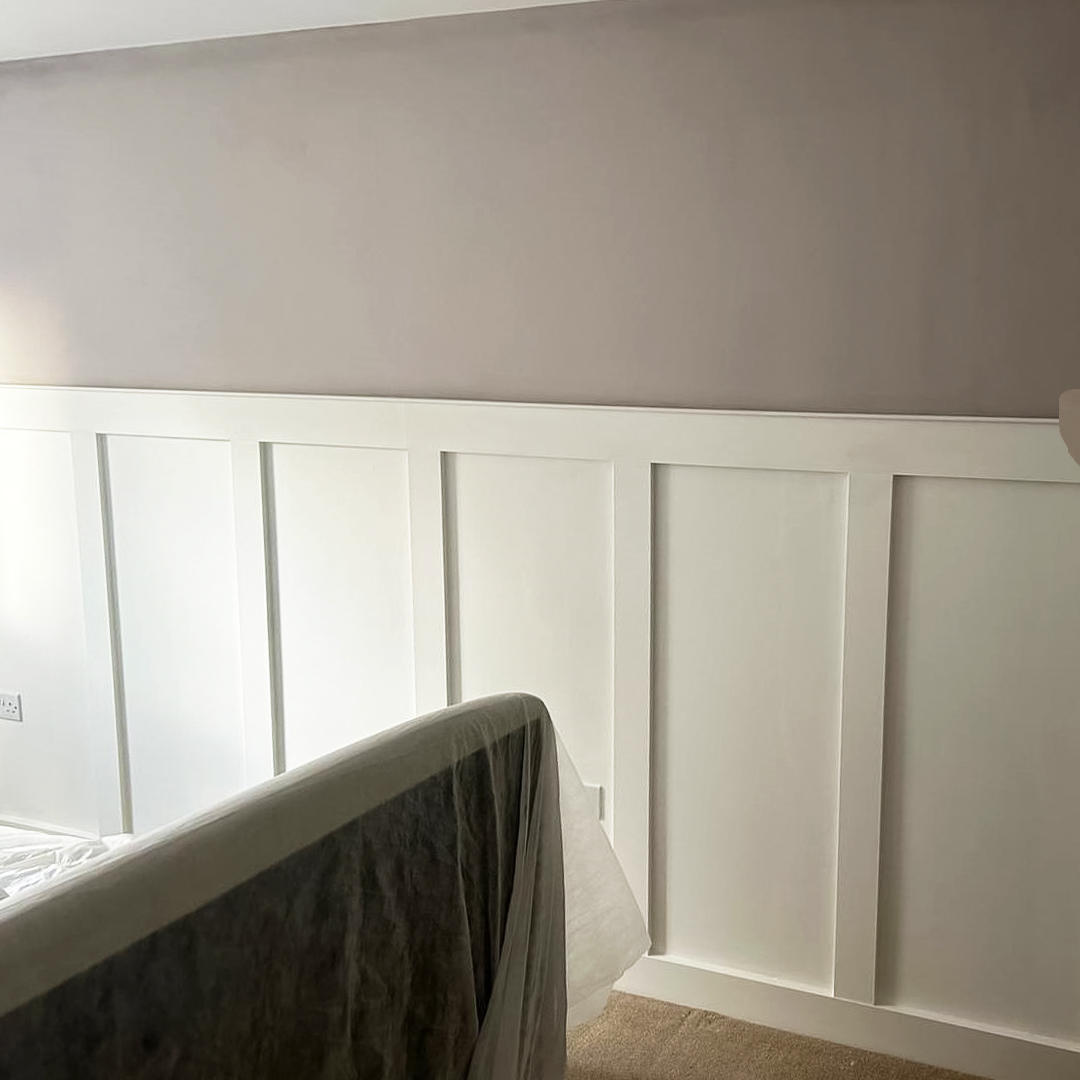
The final (unfurnished) look
Everything dry and ready to go? Clear up and move your furniture back into place. Accessorise your space with things like lighting, tables and candles – or anything else you feel will give it the aesthetic you want.
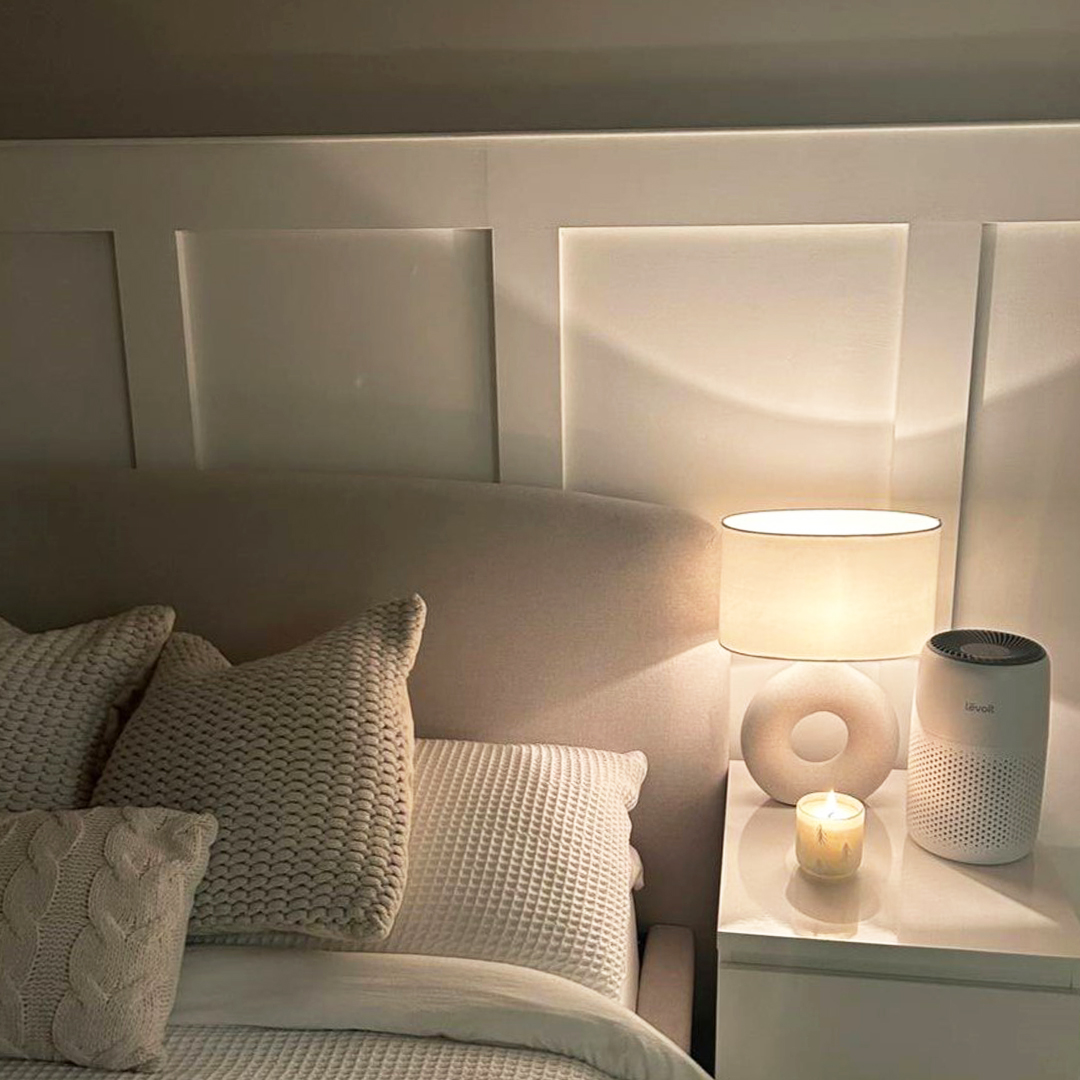
The results!
Doesn't it look like a dream? Try it yourself and tag us on Instagram, Facebook or TikTok – we just might repost your design on our story!